 Save to Pinterest
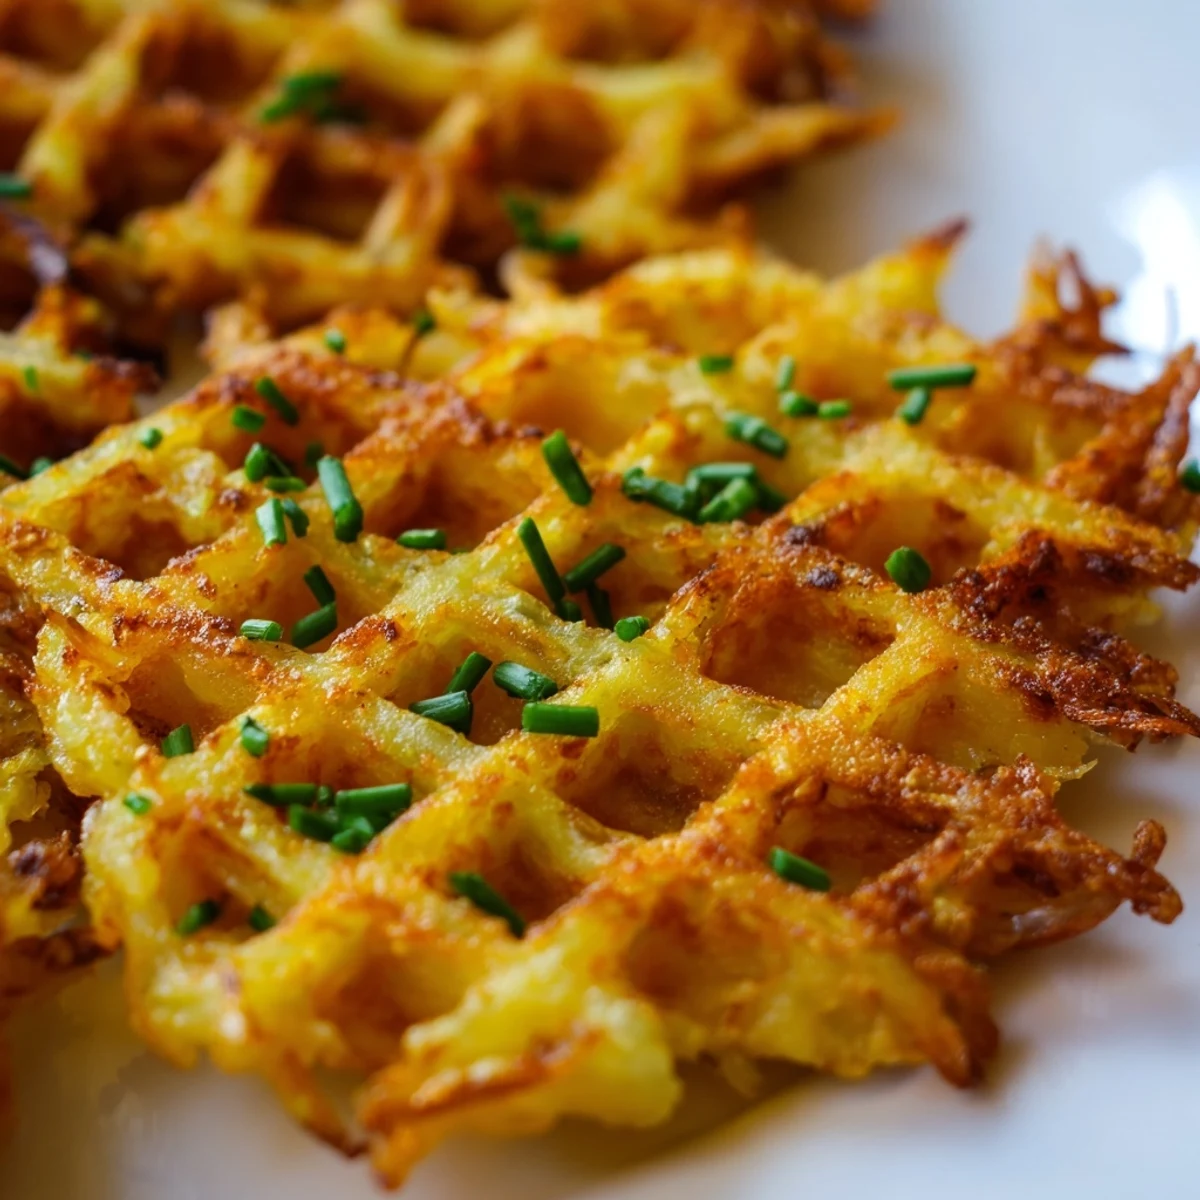
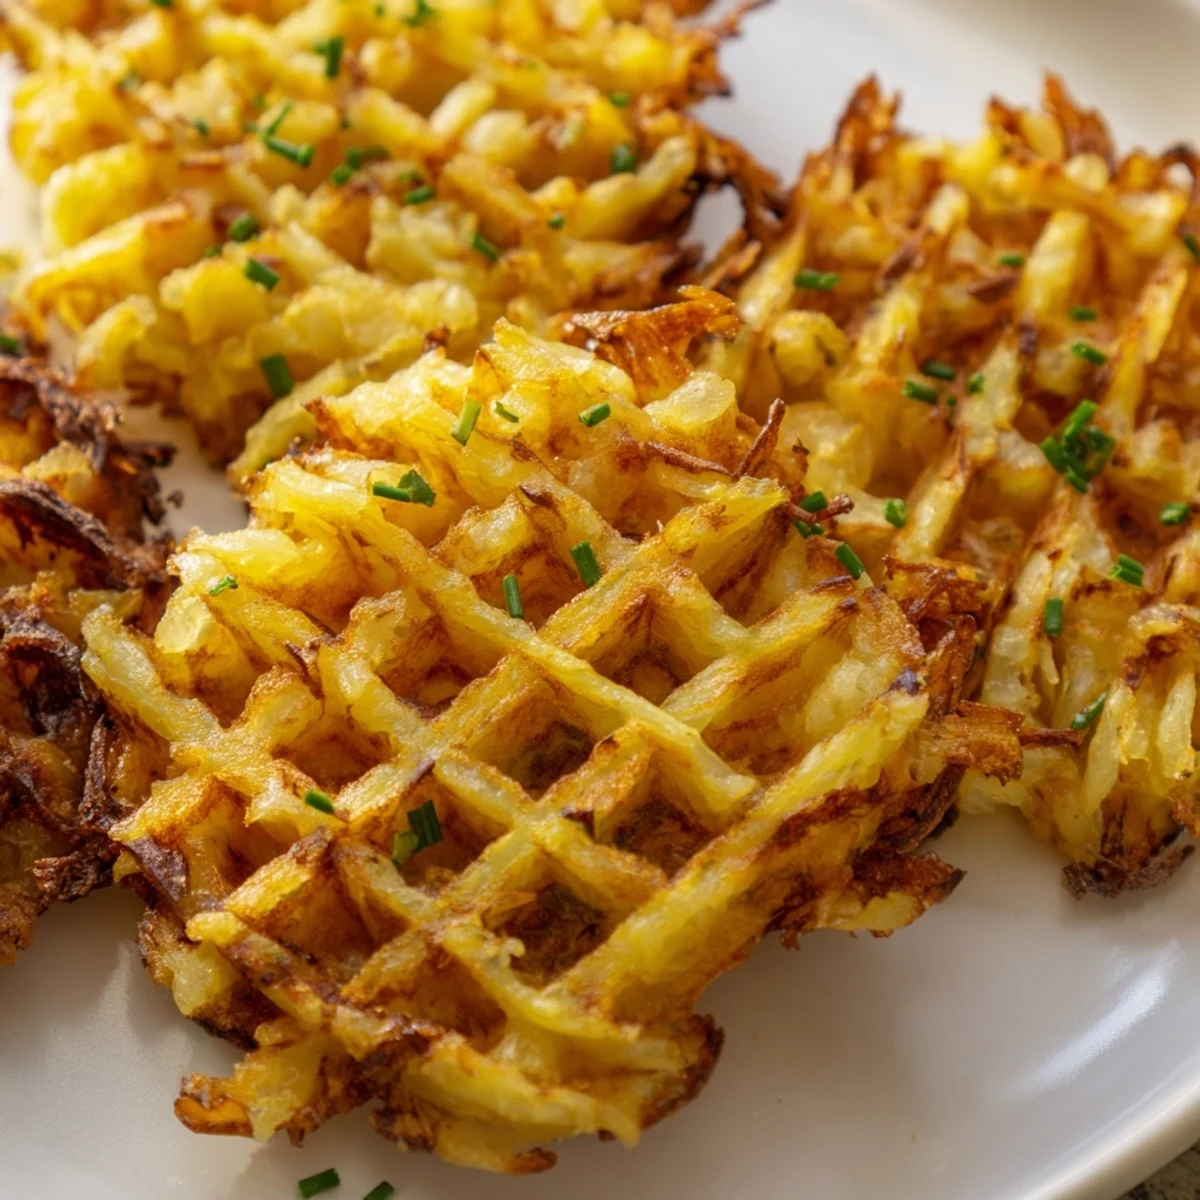
 These waffle iron hashbrowns deliver exceptional crunch with minimal effort. By pressing seasoned grated potatoes in a hot waffle iron, you create deeply golden edges and a tender interior. The key is removing excess moisture from the potatoes before cooking—this ensures maximum crispiness. Each batch cooks in about 10 minutes, yielding perfectly shaped portions ideal for feeding a crowd.
Last Sunday morning I found myself staring at three russet potatoes and a waffle iron, feeling strangely inspired. My grandmother always made hashbrowns the old-fashioned way, standing over a cast iron skillet for what felt like hours, but something told me there might be a shortcut worth exploring. The waffle iron sat there gathering dust between pancake weekends, and I wondered what would happen if I gave it a real job to do.
My roommate stumbled into the kitchen that morning, following the incredible smell of caramelizing potatoes and onions. She took one look at the waffle iron, then at me, then at the golden hashbrown grid coming off the plates, and immediately asked if we could have these every weekend instead of waiting in line at the diner downtown. Now its become our Saturday tradition, complete with mimosas and significantly less cleanup.
Ingredients
- 3 large russet potatoes, peeled: These starchy potatoes create the crispiest results, and Ive learned the hard way that leaving the skin on makes them chewy instead of crunchy
- 1 small yellow onion, finely grated: The onion sweetens as it cooks and those tiny pieces practically caramelize in every pocket of the waffle pattern
- 1 large egg: This binds everything together so your hashbrowns dont fall apart when you open the waffle iron
- 2 tablespoons all-purpose flour: Just enough to absorb any remaining moisture from the potatoes without making them doughy
- 1 teaspoon garlic powder: My secret addition that makes these taste like they came from a restaurant kitchen
- 1 teaspoon salt and ½ teaspoon black pepper: Season generously since potatoes really soak up flavor
- 2 tablespoons unsalted butter, melted: Butter creates that golden color and irresistible flavor that oil alone cant achieve
- 2 tablespoons vegetable oil: Combined with butter, this prevents burning while still giving you that perfect crisp
Instructions
- Preheat your waffle iron:
- Set it to medium-high heat and let it get fully hot before adding any potato mixture
- Prepare the potatoes:
- Grate them using a box grater, then wrap in a clean kitchen towel and squeeze out every drop of liquid you can
- Mix everything together:
- Combine the potatoes, onion, egg, flour, garlic powder, salt, pepper, and melted butter in a large bowl until well incorporated
- Grease the waffle iron:
- Lightly coat both sides with vegetable oil or nonstick spray before adding the first batch
- Cook until golden and crispy:
- Spread an even layer of potato mixture on the waffle iron, close it, and cook for 10 to 12 minutes until deeply golden
- Repeat and serve:
- Carefully remove each batch and keep them warm in a low oven while cooking the rest, then serve immediately
 Save to Pinterest
 Last month my brother visited and watched me make these, then immediately went home and bought his first waffle iron just for hashbrowns. He texts me pictures of his experiments now, sometimes with different cheeses or spices, and it makes me smile that something so simple has become a little tradition spreading through our family.
Making Ahead
You can grate the potatoes and squeeze them dry the night before, then store them in a bowl of cold water in the refrigerator. Just drain and pat them completely dry again before mixing with the other ingredients in the morning.
Flavor Variations
Try adding shredded sharp cheddar or crumbled bacon to the potato mixture for extra richness. Fresh herbs like chopped chives or parsley stirred in right before cooking add brightness that cuts through all that crispy comfort.
Serving Suggestions
These hashbrowns deserve a proper presentation, whether thats alongside fried eggs and bacon or as the base for eggs Benedict. Theyre substantial enough to stand in for toast in any breakfast plate.
- Keep cooked hashbrowns warm in a 200°F oven while finishing batches
- Have all your toppings ready before you start cooking since they are best immediately
- The residual heat keeps them crispy for about 10 minutes if you need to serve a crowd
 Save to Pinterest
 There is something deeply satisfying about reinventing a classic breakfast dish with such simple equipment. These hashbrowns have become my go-to for feeding a crowd, and honestly, they might just be better than the diner version.
Recipe FAQs
- → Why do I need to squeeze the potatoes?
-
Removing moisture from grated potatoes is essential for achieving maximum crispiness. Excess water creates steam during cooking, which can make hashbrowns soggy instead of crunchy.
- → Can I use frozen hashbrowns?
-
Frozen shredded potatoes work in a pinch, though fresh russets yield superior texture. Thaw and drain frozen potatoes thoroughly before mixing with other ingredients.
- → How do I prevent sticking?
-
Generously grease both plates with oil or butter before each batch. A hot, well-greased waffle iron ensures easy release and golden browning.
- → What toppings work best?
-
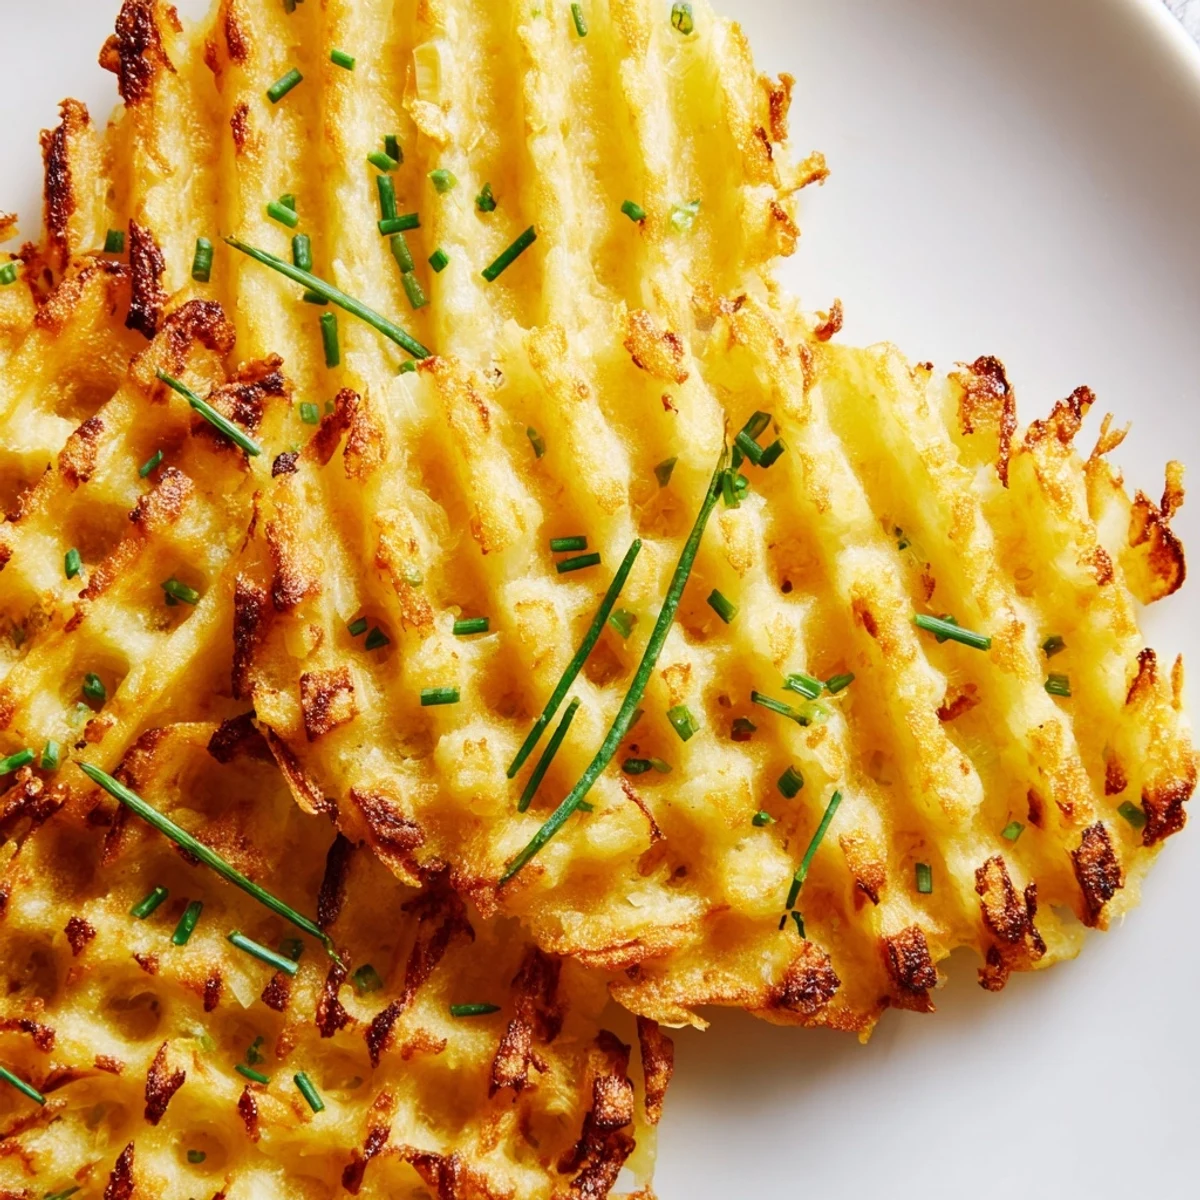
Sour cream, chives, shredded cheese, or hot sauce complement these beautifully. They also pair well with eggs, bacon, or sausage for a complete breakfast.
- → Can I make these ahead?
-
Keep cooked batches warm in a 200°F oven while finishing remaining portions. They reheat well in a toaster oven to regain crispiness.