 Save to Pinterest
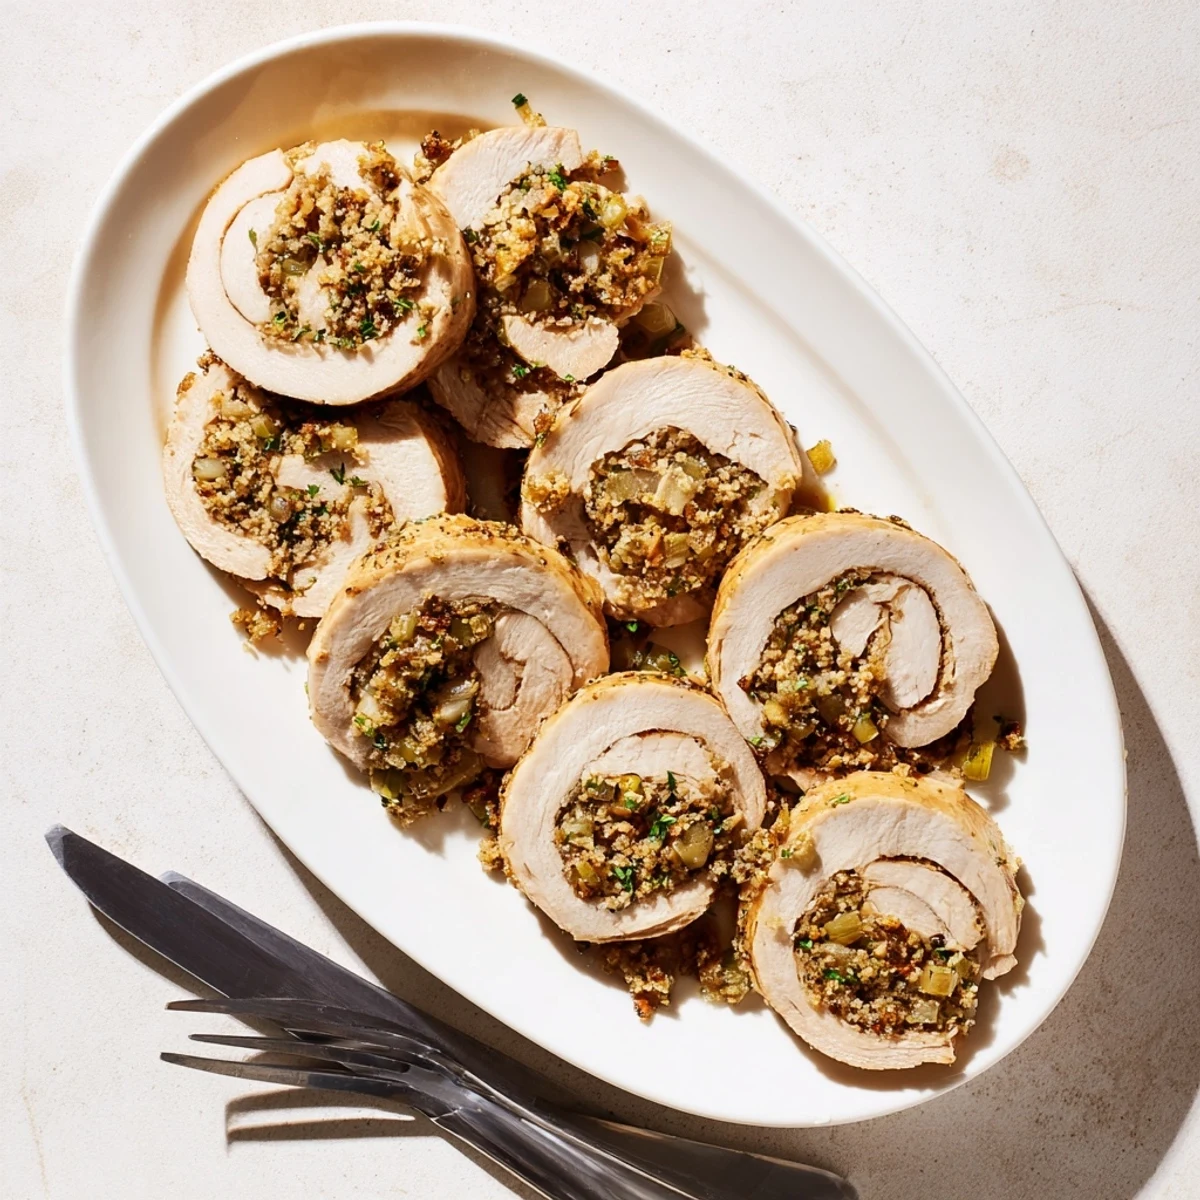
 These turkey roll ups feature tender cutlets wrapped around a savory herb-infused stuffing, then baked to golden perfection. The combination of fresh breadcrumbs, aromatic vegetables, and classic herbs like sage and rosemary creates a filling that's both comforting and flavorful. Baking in chicken broth keeps the turkey moist while developing a beautiful golden exterior.
Perfect for holidays or special dinners, this dish delivers impressive presentation with straightforward preparation. The roll ups hold their shape beautifully and pair wonderfully with traditional sides like gravy or cranberry sauce.
Last Thanksgiving, I completely abandoned the traditional whole bird after three years of dry meat and stress. These roll ups came from a happy accident with leftover stuffing and thin cutlets, and now my family actually requests them year-round.
My sister-in-law originally laughed when she saw me rolling turkey like miniature burritos, but one bite later she was asking for the recipe before she even finished her plate. The way the broth creates its own light gravy in the baking dish makes these feel fancy without any actual effort.
Ingredients
- Turkey cutlets: These thin cuts cook evenly and roll beautifully without any pounding. Look for pieces about the same size so they finish baking together.
- Fresh breadcrumbs: Fresh bread creates a softer, more absorbent stuffing that holds together better than dried cubes when rolled inside the turkey.
- Celery and onion: Finely chopping these prevents them from creating lumps that make rolling difficult. They provide the classic aromatic base everyone expects in stuffing.
- Fresh parsley: Fresh herbs matter here because the delicate flavor brightens the rich filling. Dried works in a pinch but fresh makes it taste homemade.
- Chicken broth: Low-sodium lets you control the salt level while still creating that savory depth. The broth in the pan bastes the turkey as it bakes.
- Sage and rosemary: These two herbs are the flavor anchors of traditional stuffing. Rub the dried herbs between your fingers before adding to release their essential oils.
- Toothpicks: These little helpers prevent the roll ups from unraveling during baking. Just remember to count them so you know exactly how many to remove before serving.
Instructions
- Prep your oven and dish:
- Heat your oven to 375°F and give a baking dish a quick spray with cooking oil. This small step prevents sticking and makes cleanup much easier.
- Season the turkey:
- Mix the olive oil with garlic powder, thyme, salt, and pepper, then brush both sides of each cutlet. This double-sided seasoning ensures every bite is flavorful, not just the outside.
- Make the stuffing:
- Combine all the stuffing ingredients in a bowl until the mixture holds together when you squeeze it. The breadcrumbs should be moist but not soggy, so add broth gradually if needed.
- Roll them up:
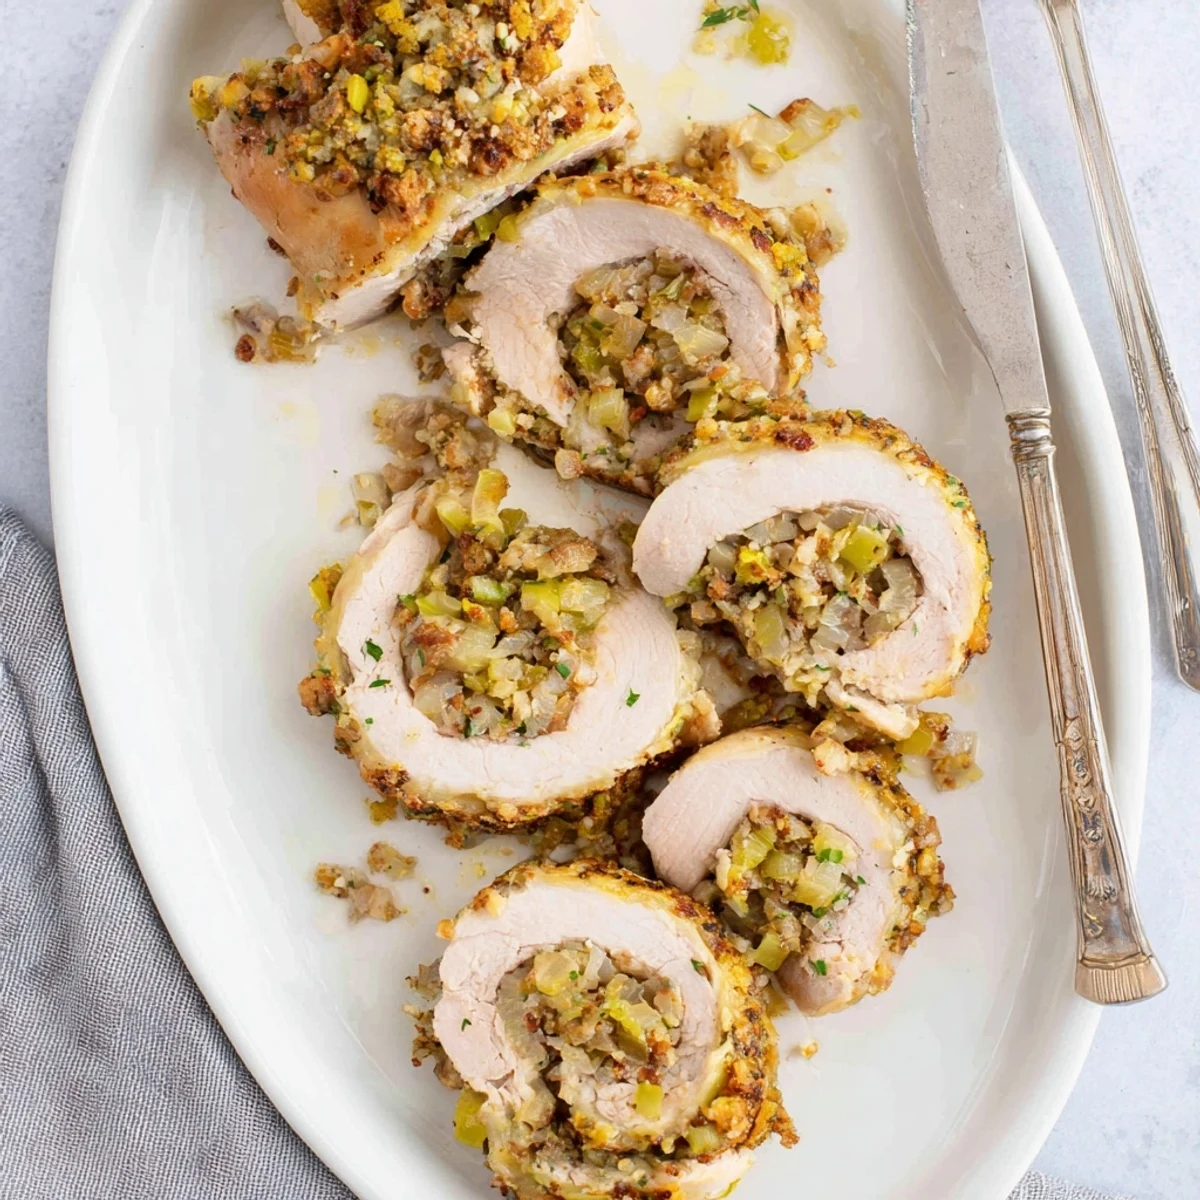
- Place a portion of stuffing at one end of each cutlet and roll tightly, securing with toothpicks. The tighter you roll, the better they hold their shape in the oven.
- Bake to golden perfection:
- Arrange roll ups seam-side down, pour broth around them, cover with foil, and bake 25 minutes. Uncover and bake 15 more minutes until the turkey is cooked through and the tops are beautifully browned.
 Save to Pinterest
 My youngest daughter now helps me roll these every time we make them. Her technique involves more stuffing than turkey, but that is half the fun of cooking together.
Making These Your Own
The stuffing base welcomes endless variations depending on what you have on hand or what flavors you are craving. Sautéed mushrooms add an earthy depth while dried cranberries bring pockets of sweetness that cut through the savory elements.
Serving Suggestions
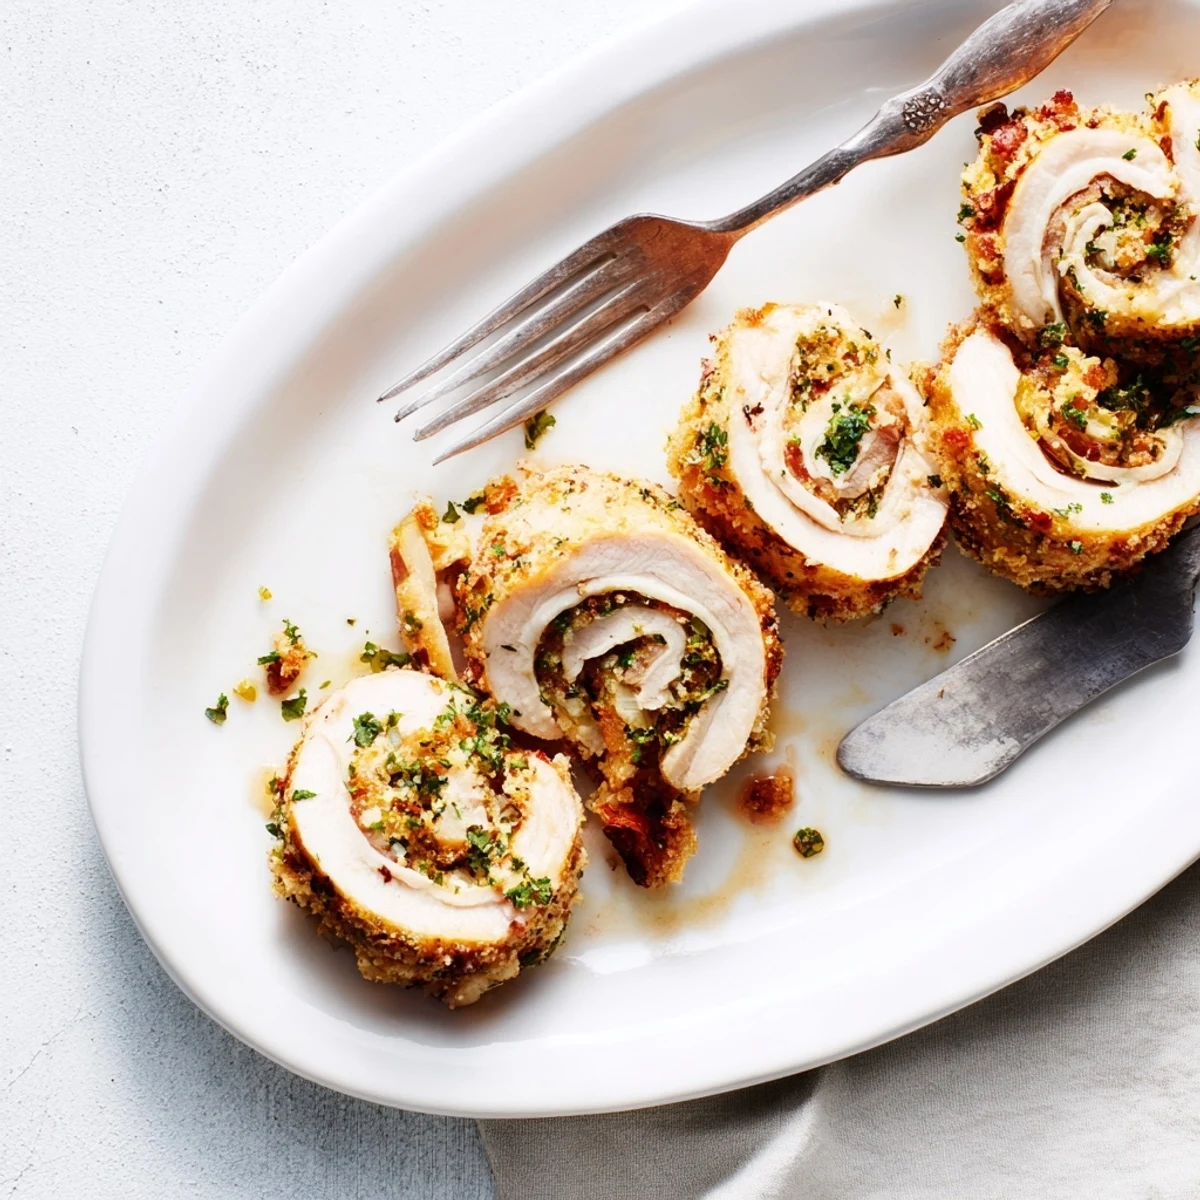
These roll ups create their own light, flavorful broth in the bottom of the pan. Serve them with a simple green vegetable and roasted potatoes, or keep it casual with a side salad and some crusty bread to soak up those pan juices.
Make Ahead Strategy
You can assemble the roll ups completely the night before and store them covered in the refrigerator. The flavors actually meld better when given time to sit, making this an excellent choice for entertaining or busy weeknights.
- Remove from the refrigerator about 20 minutes before baking so they cook evenly.
- Add an extra 5 to 10 minutes of baking time if going straight from the fridge.
- Always double-check that toothpicks are removed before letting anyone dig in.
 Save to Pinterest
 These roll ups transformed my holiday cooking from stressful to enjoyable, and I hope they bring the same relief and joy to your kitchen table.
Recipe FAQs
- → How do I prevent the roll ups from unrolling during baking?
-
Secure the seams with toothpicks before baking, and place them seam-side down in the dish. The baking process helps set the shape as the turkey cooks.
- → Can I prepare these turkey roll ups ahead of time?
-
Yes, you can assemble the roll ups, cover tightly, and refrigerate for up to 24 hours before baking. Add a few extra minutes to the baking time if cooking from cold.
- → What sides complement this dish best?
-
Mashed potatoes, roasted green beans, or glazed carrots work beautifully. For a complete holiday spread, serve with cranberry sauce and homemade gravy.
- → Can I substitute the turkey cutlets?
-
Thinly sliced chicken breasts work well as an alternative. Just pound them to even thickness and adjust cooking time if needed to ensure they're fully cooked.
- → How do I know when the turkey is fully cooked?
-
Use a meat thermometer to check the internal temperature reaches 165°F (74°C). The turkey should feel firm and the juices run clear when pierced.
- → Can I freeze leftover roll ups?
-
Yes, wrap cooled roll ups individually and freeze for up to 3 months. Thaw overnight in the refrigerator and reheat in a 350°F oven until warmed through.