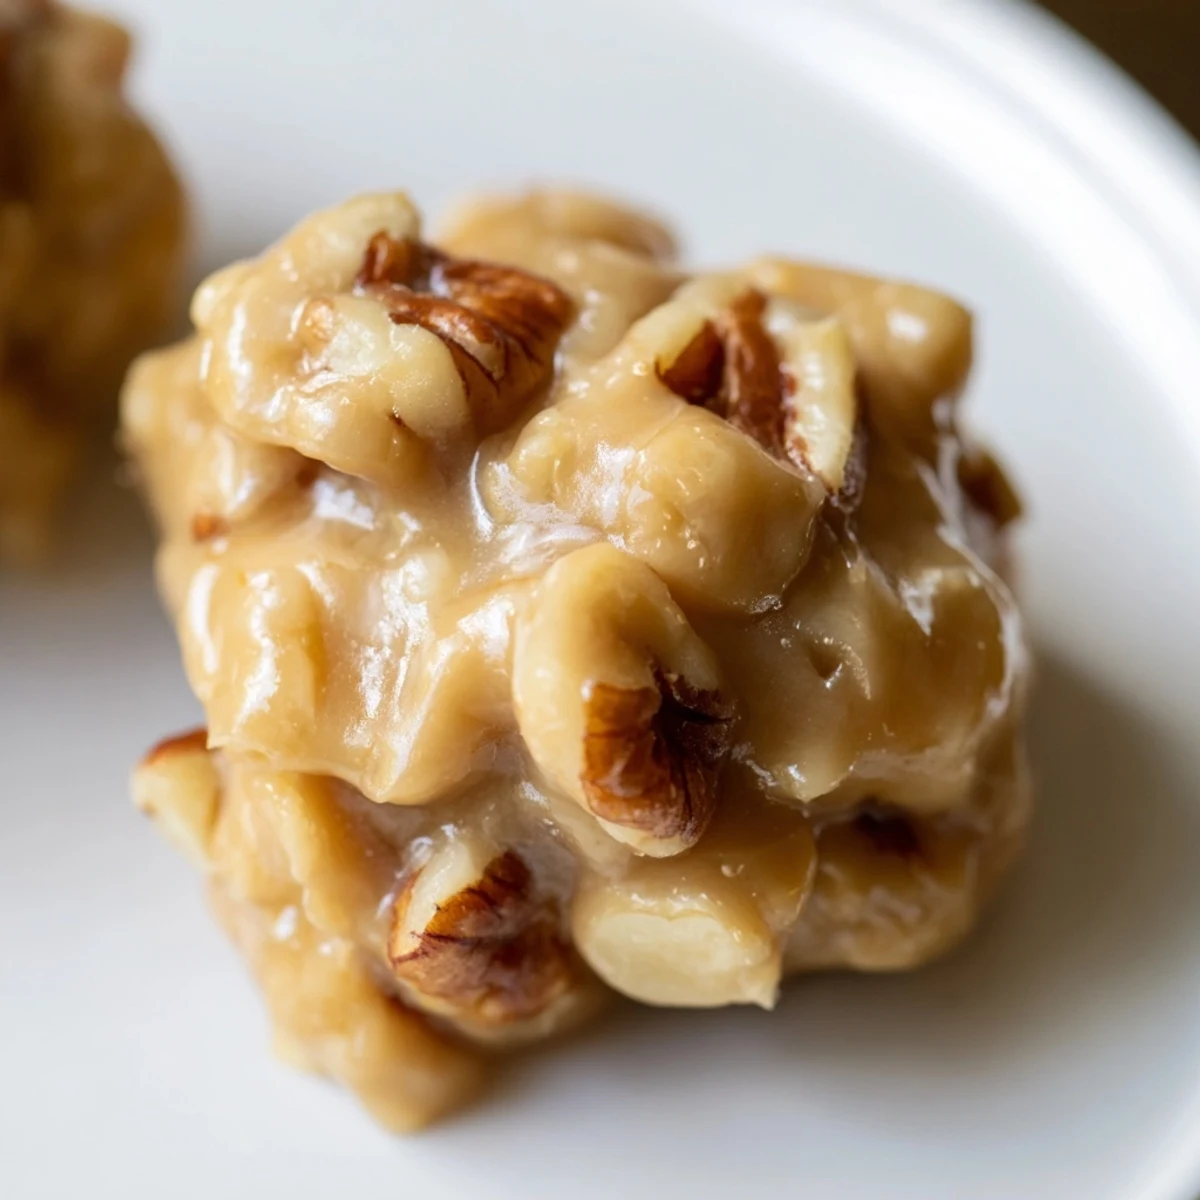
 Save to Pinterest
 These delightful pecan pralines capture the spirit of New Orleans. Prepare a baking sheet, then combine sugars, milk, butter, and salt in a heavy saucepan. Bring to a boil, stirring, until the mixture reaches 238°F on a candy thermometer. Remove from heat, stir in vanilla and pecan halves, then continue stirring until it thickens. Quickly drop spoonfuls onto the prepared sheet and allow them to cool and set. A sweet, creamy, Southern confection ready to enjoy for any occasion, offering a taste of tradition in every bite.
The smell of toasted pecans and caramelizing sugar always takes me right back to my grandmother's bustling kitchen in late winter. It wasn't Mardi Gras without her little tins of pralines appearing, nestled between layers of parchment. I remember watching her, fascinated, as she poured the molten candy onto waxed paper, the kitchen air thick with anticipation. It felt like alchemy, turning simple pantry staples into something so utterly luxurious.
One particularly chilly Mardi Gras, I decided to tackle these myself for a small gathering of friends. I remember the frantic stirring, my arm aching, and the sudden realization that my candy thermometer was acting up. Laughter filled the kitchen as we all watched the mixture thicken, hoping I hadn't just created an elaborate, sugary mess.
Ingredients
- Granulated Sugar & Light Brown Sugar: The combination of these two sugars is crucial for that classic deep caramel flavor and the perfect chewy-but-not-too-chewy texture. Using packed brown sugar ensures you get the right amount of molasses richness.
- Whole Milk & Unsalted Butter: Whole milk contributes to the creamy consistency, while unsalted butter provides the luscious, rich base without introducing extra salt we can't control. This duo is the heart of the praline's melt-in-your-mouth quality.
- Fine Sea Salt: Just a tiny pinch here isn't just for seasoning; it magically balances the intense sweetness, making the praline taste even more complex and satisfying. Don't skip it & it truly enhances all the other flavors.
- Pure Vanilla Extract: This isn't just an afterthought; adding it at the end allows its delicate floral notes to bloom without being cooked out by the high heat. It’s the final aromatic touch that brings all the flavors together beautifully.
- Pecan Halves: The star of the show! Toasted pecans offer a deeper, nuttier flavor and a wonderful textural contrast to the creamy candy. You really want good quality pecans for this, as they define the praline's character.
Instructions
- Set the Stage:
- Line a sturdy baking sheet with parchment paper or a silicone mat; this non-stick surface is vital for easy praline removal later. Make sure it's ready, because once the mixture is done, you'll need to move quickly.
- Sweet Beginnings:
- In a heavy-bottomed saucepan, combine the granulated sugar, brown sugar, milk, butter, and salt over medium heat. Stir constantly until the butter is fully melted and the mixture gently comes to a full, rolling boil.
- Temperature Watch:
- Carefully attach a reliable candy thermometer to the side of your pan, making sure it doesn't touch the bottom. Continue to boil, stirring often to prevent scorching, until the thermometer precisely reads 238°F & this is the soft-ball stage that gives pralines their characteristic texture.
- Magic Stirring Moment:
- Immediately remove the pan from the heat. This is where the magic happens: stir in the vanilla extract and all those lovely pecan halves. Keep stirring vigorously for about two to three minutes until the mixture thickens visibly and takes on a slightly creamy, yet still pourable, consistency.
- Quick Drops:
- Working as quickly as you can, use a spoon to drop individual portions of the warm praline mixture onto your prepared baking sheet, leaving a little space between each. Don't worry if they aren't perfectly round; their rustic charm is part of the appeal.
- Patient Waiting:
- Allow your beautiful pralines to cool completely and set up undisturbed at room temperature for about 20 to 30 minutes. Once firm, they'll be easy to peel off the parchment.
- Sweet Storage:
- Once fully cooled and hardened, store your delightful pralines in an airtight container at room temperature. They'll keep beautifully for up to a week, though I doubt they'll last that long!
 Save to Pinterest
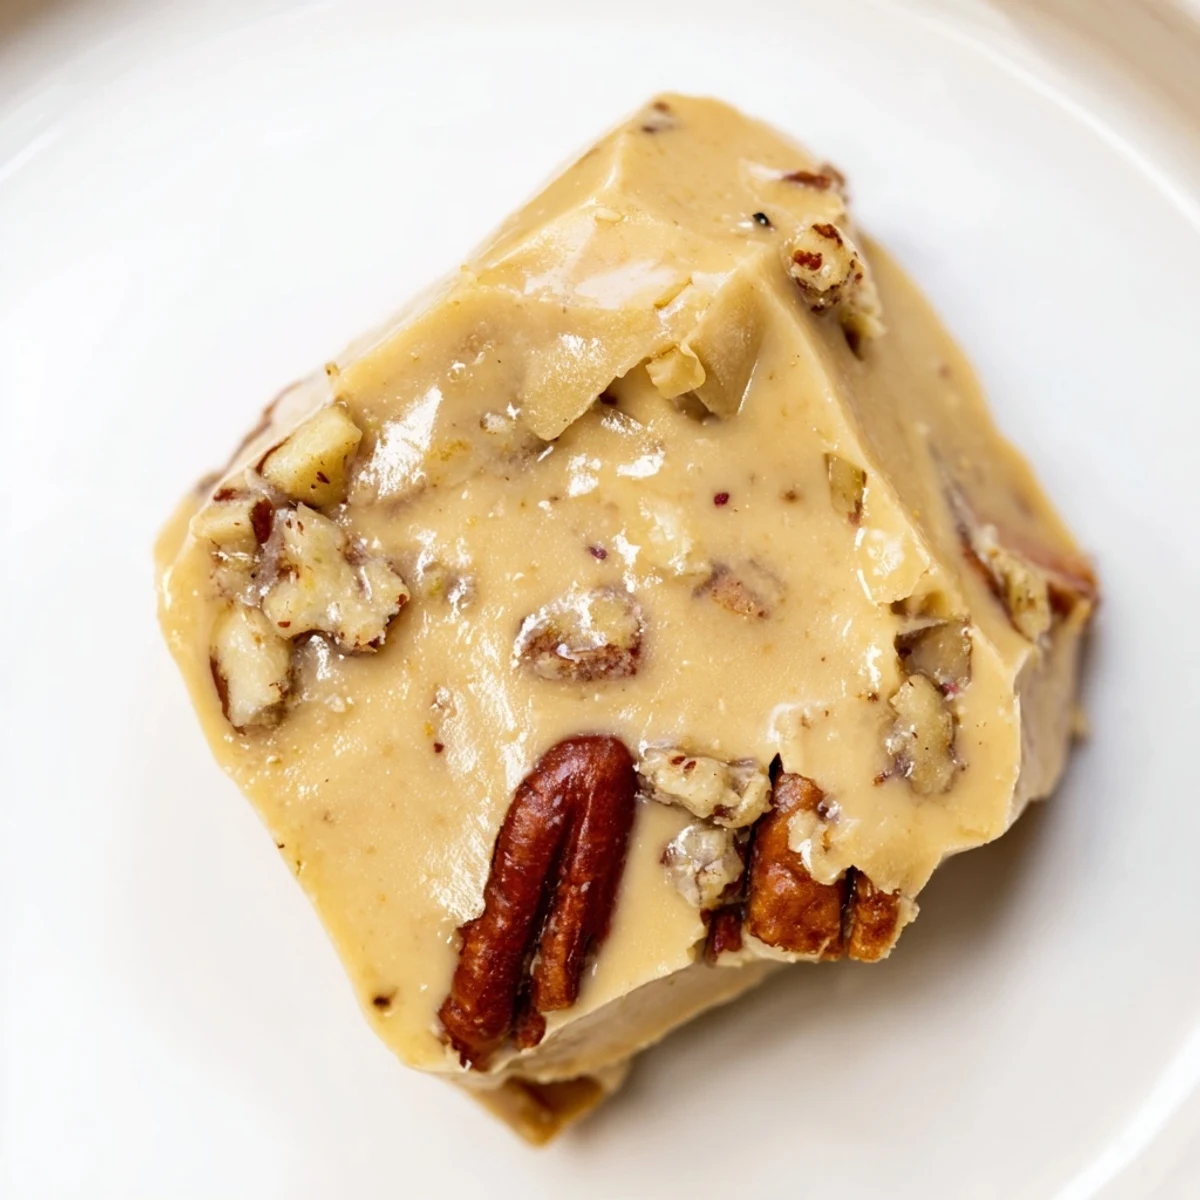
 I once sent a tin of these pralines to a friend who was having a rough time, and her tearful phone call of thanks, describing how the taste transported her to a happier place, solidified for me that food truly can be a powerful balm for the soul. It wasn't just candy; it was comfort, delivered.
Finding Your Perfect Praline Consistency
The moment you remove the pot from the heat and start stirring is the most critical for consistency. If you stir too little, they might be too soft and won't set properly; too much, and they can seize up and become crumbly before you even get them on the sheet. It's a delicate dance, but practice makes perfect, and even imperfect pralines are still delicious!
The Essential Tool: Your Candy Thermometer
I used to think I could get away without one, or by using the cold-water test method, but a reliable candy thermometer makes all the difference for consistent results. Make sure it's calibrated and that the tip isn't touching the bottom of the pan, or you'll get an inaccurate reading, which could ruin your entire batch. It's a small investment for huge praline success.
Beyond the Basics: Praline Adventures
Don't be afraid to experiment once you've mastered the basic recipe. I've sometimes added a tiny splash of bourbon to the vanilla for a more adult twist, or even a sprinkle of flaky sea salt on top right after dropping for a delightful sweet-and-salty kick. The foundation is solid, so feel free to personalize!
- Toasting your pecans in a dry skillet beforehand really deepens their flavor.
- If you're feeling fancy, swap out the milk for heavy cream for an extra rich and velvety praline.
- For smaller, daintier pralines, use a teaspoon instead of a tablespoon when portioning onto the baking sheet.
 Save to Pinterest
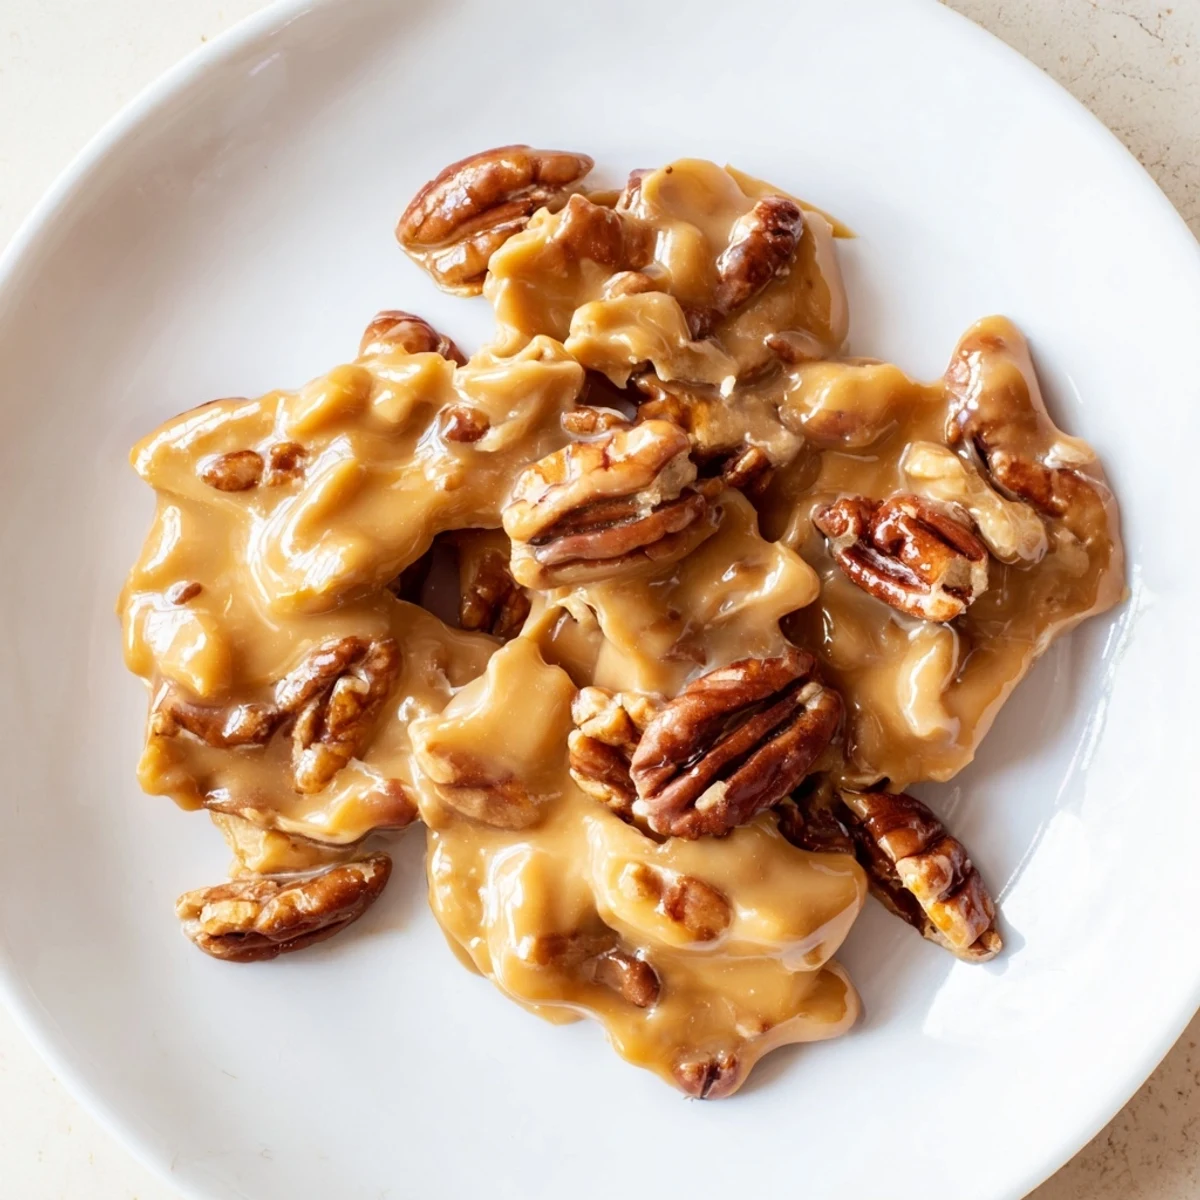
 These pralines are more than just a sweet treat; they're a little taste of Southern hospitality and a reminder of joyful moments. I hope they bring as much warmth to your kitchen as they do to mine.
Recipe FAQs
- → Why are my pralines not setting properly?
-
Pralines often fail to set if the sugar mixture wasn't cooked to the correct temperature (238°F, soft-ball stage) or if it wasn't stirred enough after removing it from the heat. Ensure you use a reliable candy thermometer and stir vigorously until the mixture thickens and loses some of its gloss before dropping.
- → Can I substitute other nuts for pecans?
-
While pecans are traditional for Southern pralines, you could experiment with other nuts like walnuts or almonds. Keep in mind that the flavor profile will change, and you might consider toasting them beforehand for enhanced taste.
- → How should I store freshly made pralines?
-
Store your finished pralines in an airtight container at room temperature. They will remain fresh for up to one week. To prevent them from sticking together, you can place parchment paper between layers.
- → What if I don't have a candy thermometer?
-
While a candy thermometer provides the most accuracy, you can test for the soft-ball stage by dropping a small amount of the hot mixture into a cup of cold water. If it forms a soft, pliable ball that can be flattened, it’s ready.
- → Is it possible to toast the pecans for a deeper flavor?
-
Yes, absolutely! For an even richer, nuttier taste, lightly toast the pecan halves in a dry skillet over medium heat for about 3-5 minutes, or until fragrant, before adding them to the cooked sugar mixture.
- → My pralines turned out grainy. What went wrong?
-
Grainy pralines often result from sugar crystals forming during the cooking process. To avoid this, ensure you stir constantly during the initial boiling phase and don't scrape down the sides of the pan once crystallization begins. A tiny pinch of cream of tartar can also help prevent crystal formation.