
 Save to Pinterest
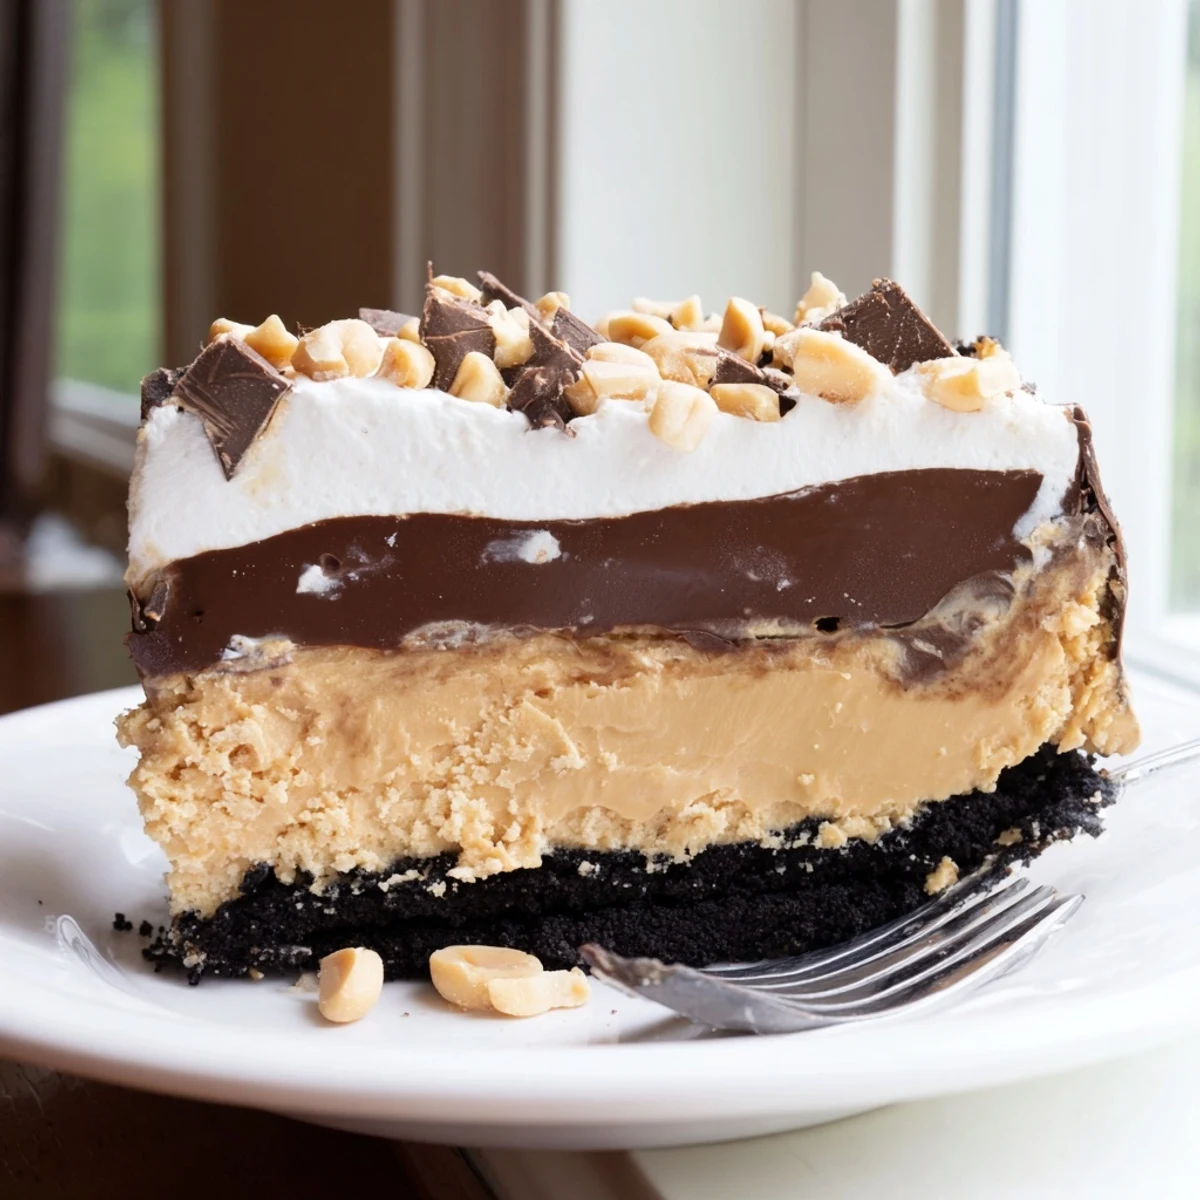
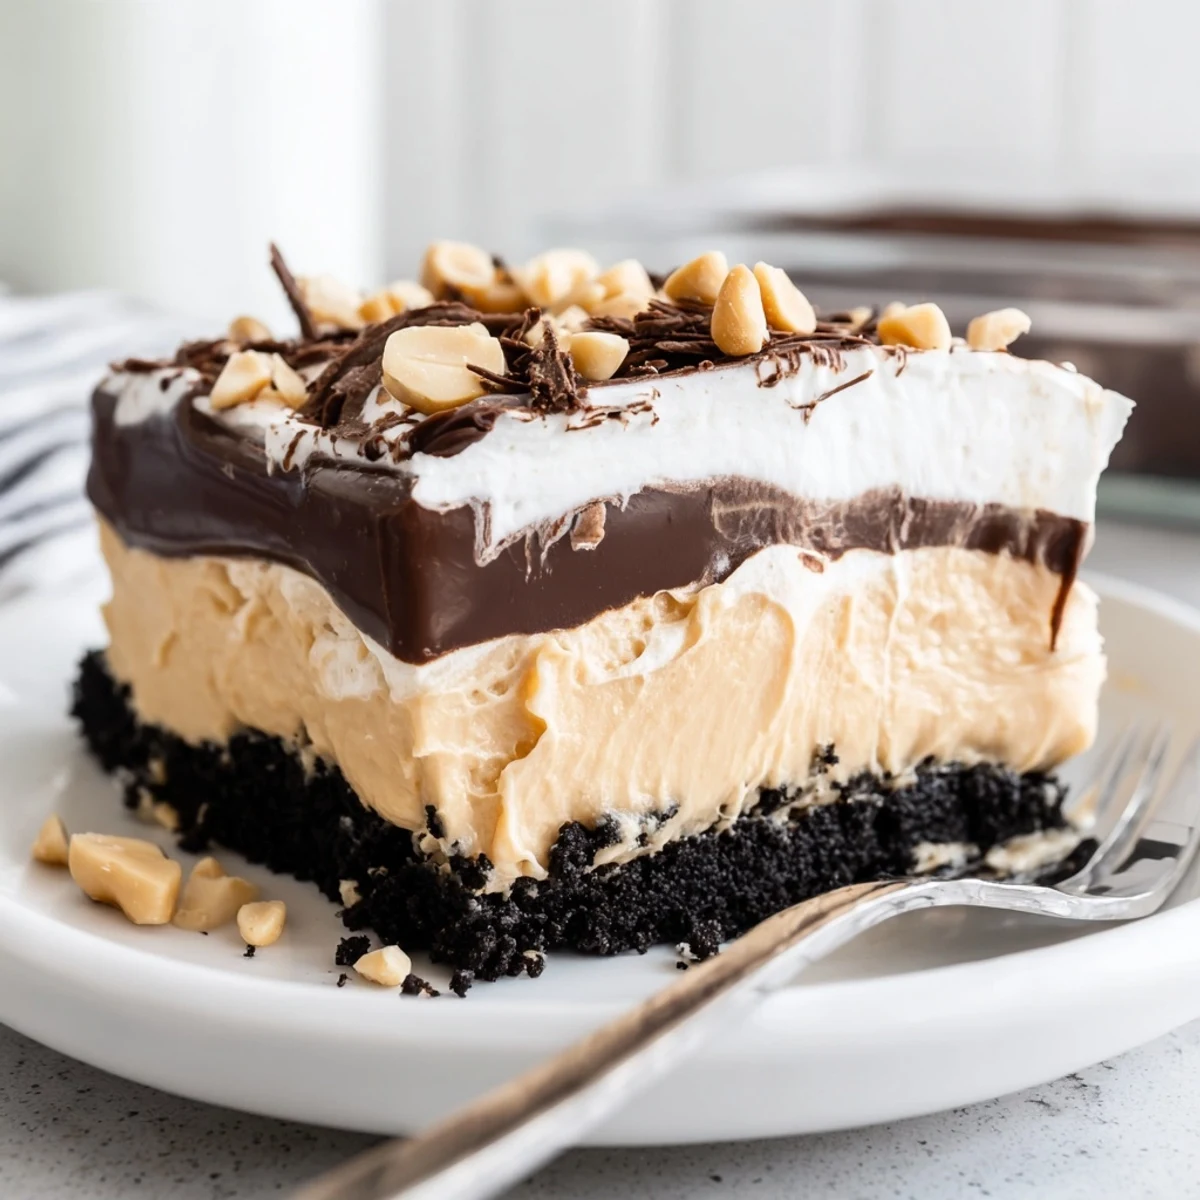
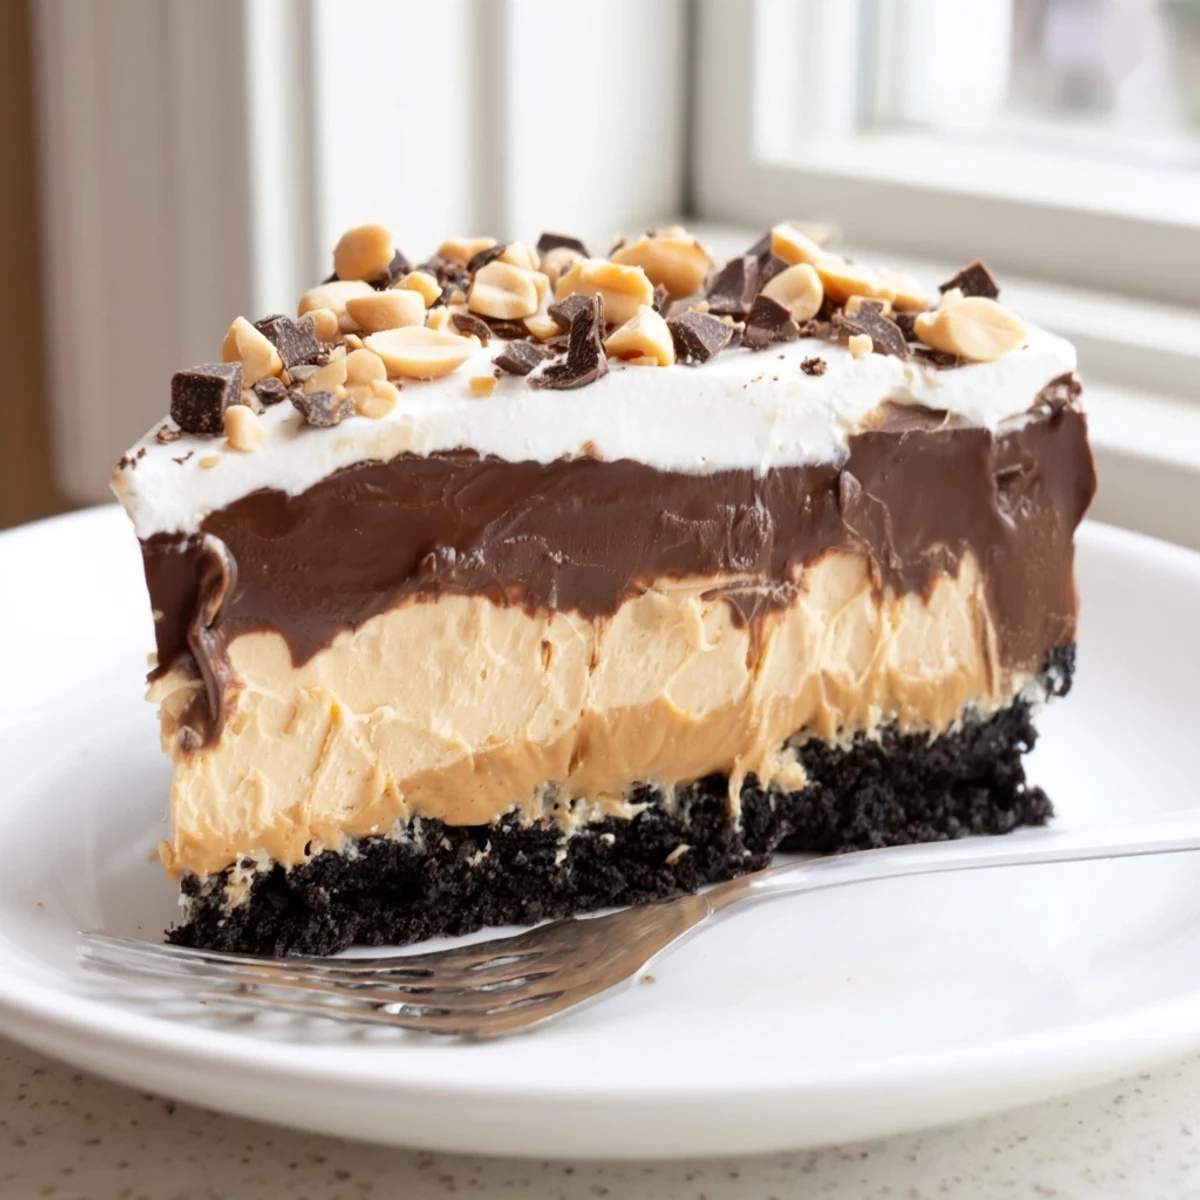
 This no-bake layered dessert brings together a buttery chocolate cookie crust, a silky peanut butter cream cheese filling, a glossy chocolate ganache layer, and a fluffy whipped topping. It chills to perfection in about four hours, making it an ideal make-ahead treat for gatherings.
With simple ingredients and straightforward assembly, even beginners can achieve stunning results. The combination of textures—crunchy base, creamy filling, and smooth chocolate—makes every bite irresistible.
My sister walked into the kitchen one July afternoon, saw me pressing cookie crumbs into a pan, and announced that she did not like peanut butter desserts. Four hours later she had eaten three slices and was asking if I could make another one before the weekend. That summer this layered delight became our unofficial backyard barbecue finale, and it has not missed a gathering since.
I brought this to a potluck once and watched a quiet coworker go back for a fourth helping without making eye contact with anyone. Something about those layers makes people temporarily forget their manners, and honestly I respect that.
Ingredients
- Chocolate sandwich cookies (200 g): Crushed fine, they form a sturdy base that holds up beautifully against the soft layers above.
- Unsalted butter (60 g), melted: Binds the crumbs together and adds richness without making the base greasy.
- Cream cheese (250 g), softened: Let it sit out for at least thirty minutes so it blends smoothly without lumps.
- Creamy peanut butter (180 g): Use a commercial brand rather than natural stirred peanut butter for the most stable texture.
- Powdered sugar (100 g): Sweetens the middle layer gently and helps it set firm in the fridge.
- Whipped topping (150 ml plus 200 ml), thawed: Folded into the peanut butter layer and spread on top, it keeps everything light and airy.
- Semisweet chocolate chips (120 g): The ganache layer needs a chocolate that is not too sweet, and semisweet strikes the right balance.
- Heavy cream (80 ml): Heated with the chocolate to create a glossy, pourable ganache.
- Chopped roasted peanuts (30 g, optional): A salty crunch on top that contrasts the creamy layers beneath.
- Chocolate shavings (optional): Purely for looks, but they make the dessert feel finished and special.
Instructions
- Build the crust:
- Toss the crushed cookies with melted butter until every crumb glistens slightly and holds together when you pinch it. Press the mixture firmly and evenly into the bottom of your pan, then slide it into the freezer for fifteen minutes while you work on the filling.
- Whip up the peanut butter layer:
- Beat the softened cream cheese, peanut butter, and powdered sugar together until completely smooth and no streaks remain. Gently fold in the whipped topping with a spatula, keeping as much air in the mixture as you can, then spread it over the chilled crust.
- Create the chocolate ganache:
- Combine the chocolate chips and heavy cream in a microwave safe bowl and heat in short twenty second bursts, stirring between each one until the mixture is glossy and lump free. Let it cool for a few minutes so it does not melt the peanut butter layer, then pour and spread it evenly on top.
- Chill everything thoroughly:
- Cover the pan and tuck it into the refrigerator for at least four hours, though overnight is even better if you can wait that long.
- Top and finish:
- Spread the remaining whipped topping over the set chocolate layer and scatter chopped peanuts and chocolate shavings across the surface. Slice with a warm knife for the cleanest cuts.
 Save to Pinterest
 The real magic of this dessert hit me when my nephew, who normally survives on chicken nuggets and plain pasta, asked for it instead of birthday cake. Something about the familiar candy bar flavors wrapped up in a fork and plate format made it feel like a treat he could call his own.
Swaps That Actually Work
Almond butter or cashew butter can stand in for peanut butter if you want a different flavor profile, though the result will be slightly less rich. Crushed pretzels mixed into the cookie base add a welcome salty crunch that plays beautifully against the sweet layers. Gluten free cookies work seamlessly for the crust, so no one has to sit out dessert night.
Serving and Pairing Ideas
Cold milk is the obvious companion, but a glass of tawny port or a coffee liqueur over ice elevates this into something surprisingly sophisticated for a weeknight treat. I have also been known to eat a slice with my morning coffee and call it breakfast, which I stand by completely.
Storing and Make Ahead Notes
This dessert actually improves after a night in the fridge because the layers meld and the flavors deepen. Keep it covered tightly and it will hold for up to four days, though in my experience it never lasts that long.
- Freeze individual slices wrapped in plastic for up to one month and thaw them in the fridge overnight.
- A warm dry knife dipped in hot water and wiped clean between cuts gives the prettiest slices.
- Always return leftover slices to the fridge promptly so the whipped topping stays stable.
 Save to Pinterest
 Every time I make this I think about how the simplest desserts often leave the biggest impression, and this layered wonder proves that point with every creamy, crunchy, chocolatey bite.
Recipe FAQs
- → Can I make this dessert ahead of time?
-
Absolutely. In fact, it benefits from an overnight rest in the refrigerator, which allows the layers to set firmly and the flavors to meld together beautifully.
- → What can I substitute for the whipped topping?
-
You can use an equal amount of freshly whipped heavy cream sweetened with a tablespoon of powdered sugar and a splash of vanilla extract.
- → How should I store leftovers?
-
Cover the pan tightly with plastic wrap or transfer slices to an airtight container. Keep refrigerated for up to four days. The cookie base may soften slightly over time but will remain delicious.
- → Can I use natural peanut butter instead of creamy?
-
Standard creamy peanut butter works best for a smooth, stable layer. Natural peanut butter tends to separate and can make the filling oily. If using natural, stir it thoroughly and consider adding an extra tablespoon of powdered sugar to help bind the mixture.
- → Is it possible to freeze this layered dessert?
-
Yes, you can freeze it for up to one month. Wrap individual slices tightly in plastic wrap and place them in a freezer-safe container. Thaw in the refrigerator for a few hours before serving.
- → How do I get clean slices when cutting?
-
Use a sharp knife dipped in hot water and wiped dry between each cut. This technique helps glide through the layers cleanly, giving you neat, presentable portions.