 Save to Pinterest
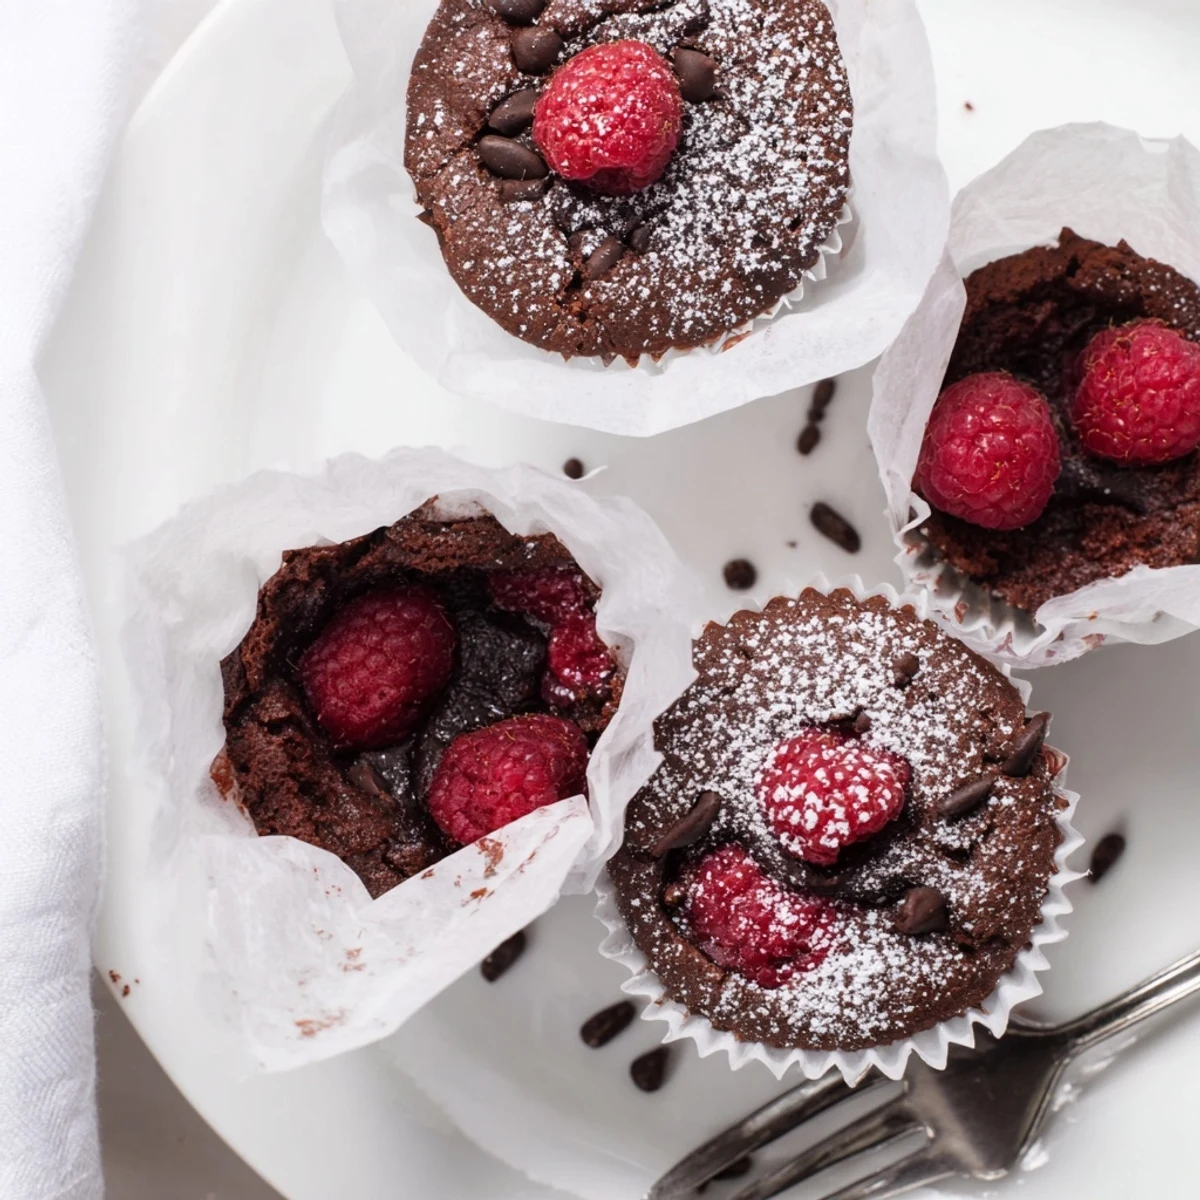
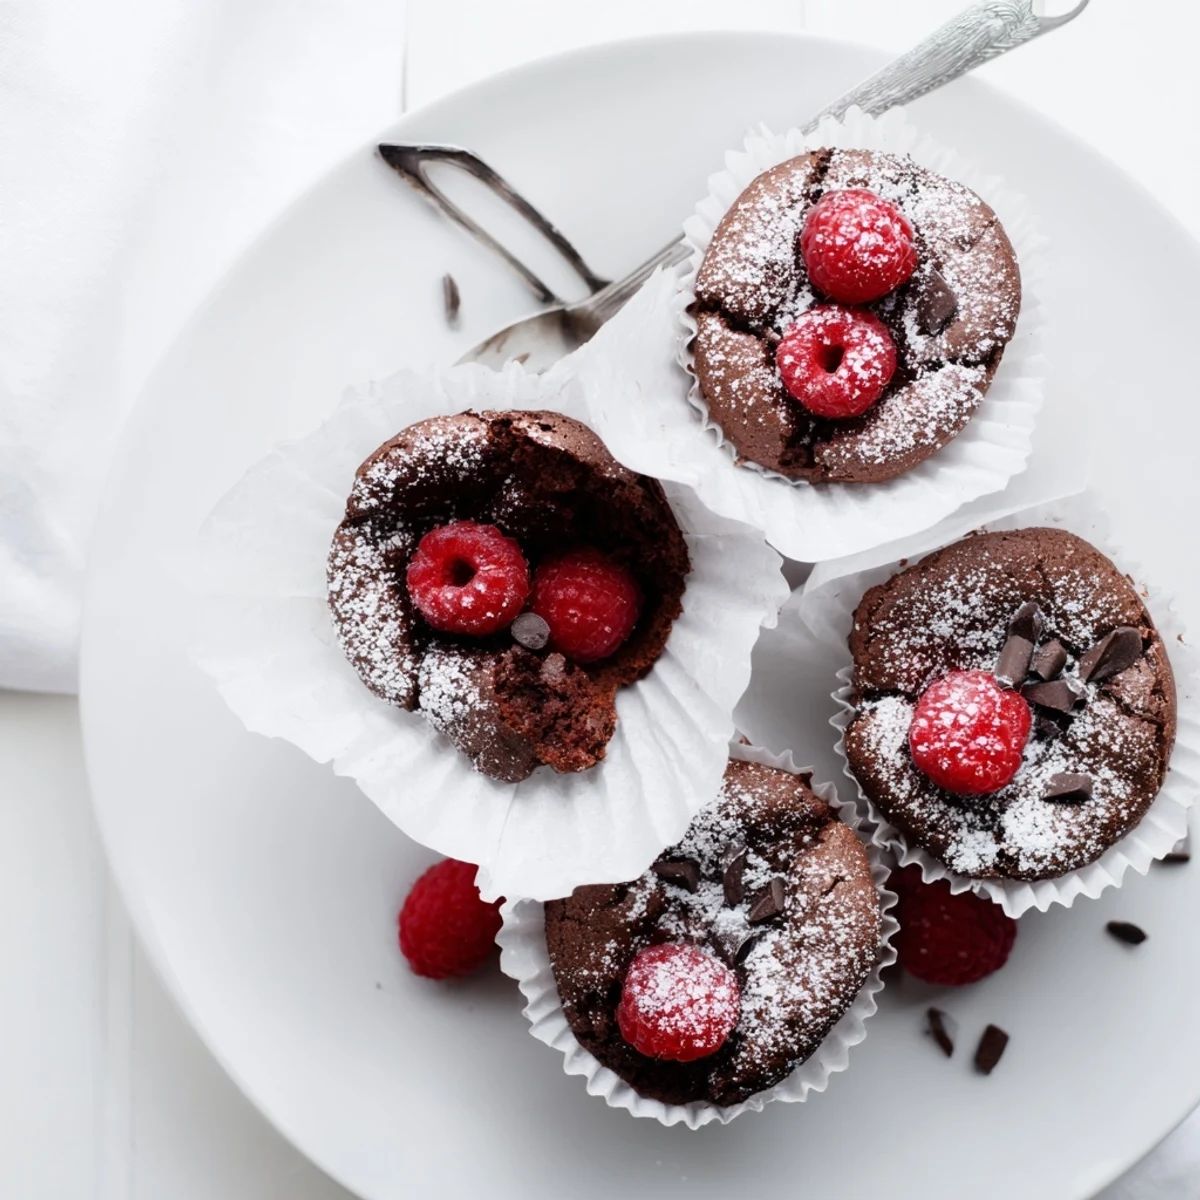
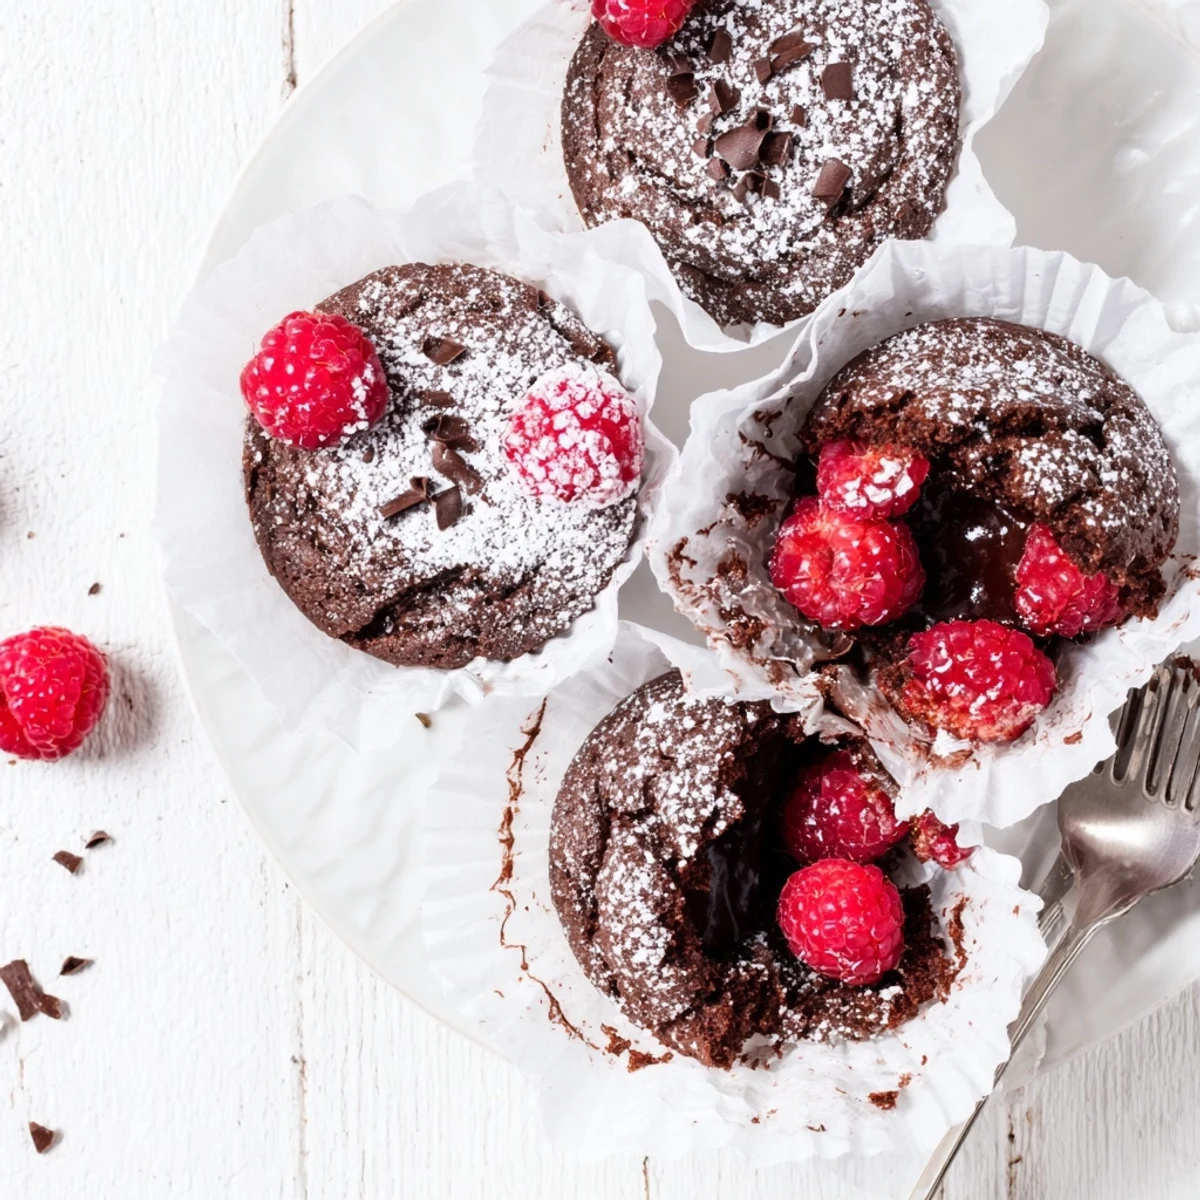
 These indulgent treats feature moist chocolate cupcakes surrounding a hidden molten lava center and fresh raspberries. The magic happens when frozen chocolate mounds melt during baking, creating that signature gooey interior everyone loves. Each bite delivers the perfect balance of rich dark chocolate and tart fruit, making these ideal for dinner parties, celebrations, or whenever you crave something special. Serve them warm dusted with powdered sugar, or elevate them further with vanilla ice cream for an extra decadent experience.
The first time I made these, my kitchen smelled like a chocolate shop and I accidentally burned my finger testing the lava center. Worth it. These cupcakes became my go-to when I want to impress without spending all day decorating something fussy.
I served these at my sisters birthday last spring and she literally stopped talking mid-sentence after her first bite. Watching guests discover the molten center never gets old, and now she requests them for every celebration.
Ingredients
- 150 g all-purpose flour: The structure that holds everything together, dont skip sifting or youll get lumps
- 30 g unsweetened cocoa powder: Use a good quality one, it makes all the difference in depth of flavor
- 1 tsp baking powder and 1/2 tsp baking soda: The lift team that creates that perfect crumb
- 1/4 tsp fine salt: Enhances the chocolate like you would not believe
- 120 ml buttermilk: Makes these tender and moist, regular milk just does not compare
- 100 g unsalted butter, melted: Let it cool slightly so it does not cook your eggs
- 150 g granulated sugar: Sweetness and tenderness in one
- 2 large eggs: Room temp eggs incorporate so much better
- 1 tsp pure vanilla extract: Do not use imitation, the real stuff is essential
- 100 g dark chocolate and 50 ml heavy cream: The lava duo that makes these unforgettable
- 60 g fresh raspberries: Fresh ones burst beautifully when baked, frozen get mushy
Instructions
- Make the lava centers first:
- Melt the chocolate and cream together in 20 second bursts, stirring between each until smooth. Drop teaspoonfuls onto parchment and freeze them solid, at least 15 minutes, otherwise they disappear into the batter.
- Prep your oven and pan:
- Heat to 180°C and line your muffin tin. Do not skip the liners, the sticky centers need them.
- Whisk the dry ingredients:
- Sift flour, cocoa, baking powder, baking soda, and salt into a medium bowl. This step matters for texture.
- Mix the wet stuff:
- Whisk melted butter and sugar until combined, then beat in eggs one at a time. Stir in vanilla and you will have something glossy and smooth.
- Combine carefully:
- Fold in half the dry ingredients, then the buttermilk, then the rest. Stop mixing as soon as you do not see flour streaks.
- Build the cupcakes:
- Start with a tablespoon of batter in each liner. Press a frozen chocolate disk into the center, add 2 or 3 raspberries, then cover with more batter until three quarters full.
- Bake until just set:
- Fourteen to sixteen minutes is perfect, the tops should feel firm but centers still soft. Overbake and you lose the magic.
- Cool and serve:
- Let them rest in the pan for 5 minutes, then move to a rack. Dust with powdered sugar while slightly warm and serve immediately for the full lava experience.
 Save to Pinterest
 My dad usually skips dessert but he went back for seconds of these, carefully scraping every bit of chocolate from the wrapper. Something about cutting into that warm cake and watching it spill out makes people put their phones down and just savor the moment.
Getting The Centers Right
The key is freezing those chocolate mounds until they are firm, otherwise they melt into the batter before the cupcake structure forms. I learned this the hard way when my first batch came out with no surprise center at all, just evenly distributed chocolate through each cake. Still delicious, but not what I was going for.
Make Them Ahead
You can freeze the chocolate lava discs up to a week ahead, just keep them in an airtight container with parchment between layers. The batter comes together so quickly that you can even prep the dry and wet ingredients separately the night before and mix everything fresh when you are ready to bake.
Serving Ideas
These are showstoppers on their own but a scoop of vanilla bean ice cream turns them into something restaurant quality. The cold cream melting into the warm chocolate creates the best texture contrast.
- Pair with a glass of port or red wine if you want to feel fancy
- Fresh mint leaves add a nice pop of color against the dark chocolate
- Extra raspberries on the plate make it look like you put in way more effort than you actually did
 Save to Pinterest
 There is something deeply satisfying about cutting into that first cupcake and watching the chocolate center spill out like your own private dessert volcano. Hope they bring as much joy to your table as they have to mine.
Recipe FAQs
- → How do I know when the cupcakes are done baking?
-
The tops should be just set while the centers remain slightly soft to the touch. This ensures the lava filling stays molten. Insert a toothpick near the edge—it should come out mostly clean, but the center will still feel soft. The residual heat continues cooking them slightly as they cool.
- → Can I prepare the chocolate lava filling in advance?
-
Absolutely! Prepare the chocolate mounds and freeze them on parchment paper for up to a week. Store in an airtight container separated by parchment layers. This makes assembly much faster when you're ready to bake.
- → What's the best way to achieve the molten center effect?
-
The key is freezing the chocolate-cream mixture into solid mounds before baking. As the cupcakes bake, these frozen centers melt gradually while the surrounding cake sets. Don't overbake—remove when tops are set but centers still have a slight jiggle.
- → Can I substitute other fruits for raspberries?
-
Yes! Fresh strawberries, blackberries, or even cherries work beautifully. The tartness balances the rich chocolate perfectly. Use fresh fruit and adjust quantities based on berry size—aim for 2-3 pieces per cupcake.
- → Should these be served warm or can they be made ahead?
-
For the full molten experience, serve them warm or at room temperature within 2-3 hours of baking. You can bake them a day ahead and gently reheat in the microwave for 10-15 seconds to re-melt the centers. The texture remains excellent, though they're most impressive freshly baked.
- → What type of chocolate works best for the lava filling?
-
Dark chocolate with 60-70% cocoa content creates the ideal balance—intense flavor without being too bitter. Higher quality chocolate yields smoother, glossier lava centers. Avoid chocolate chips as they contain stabilizers that affect melting consistency.