 Save to Pinterest
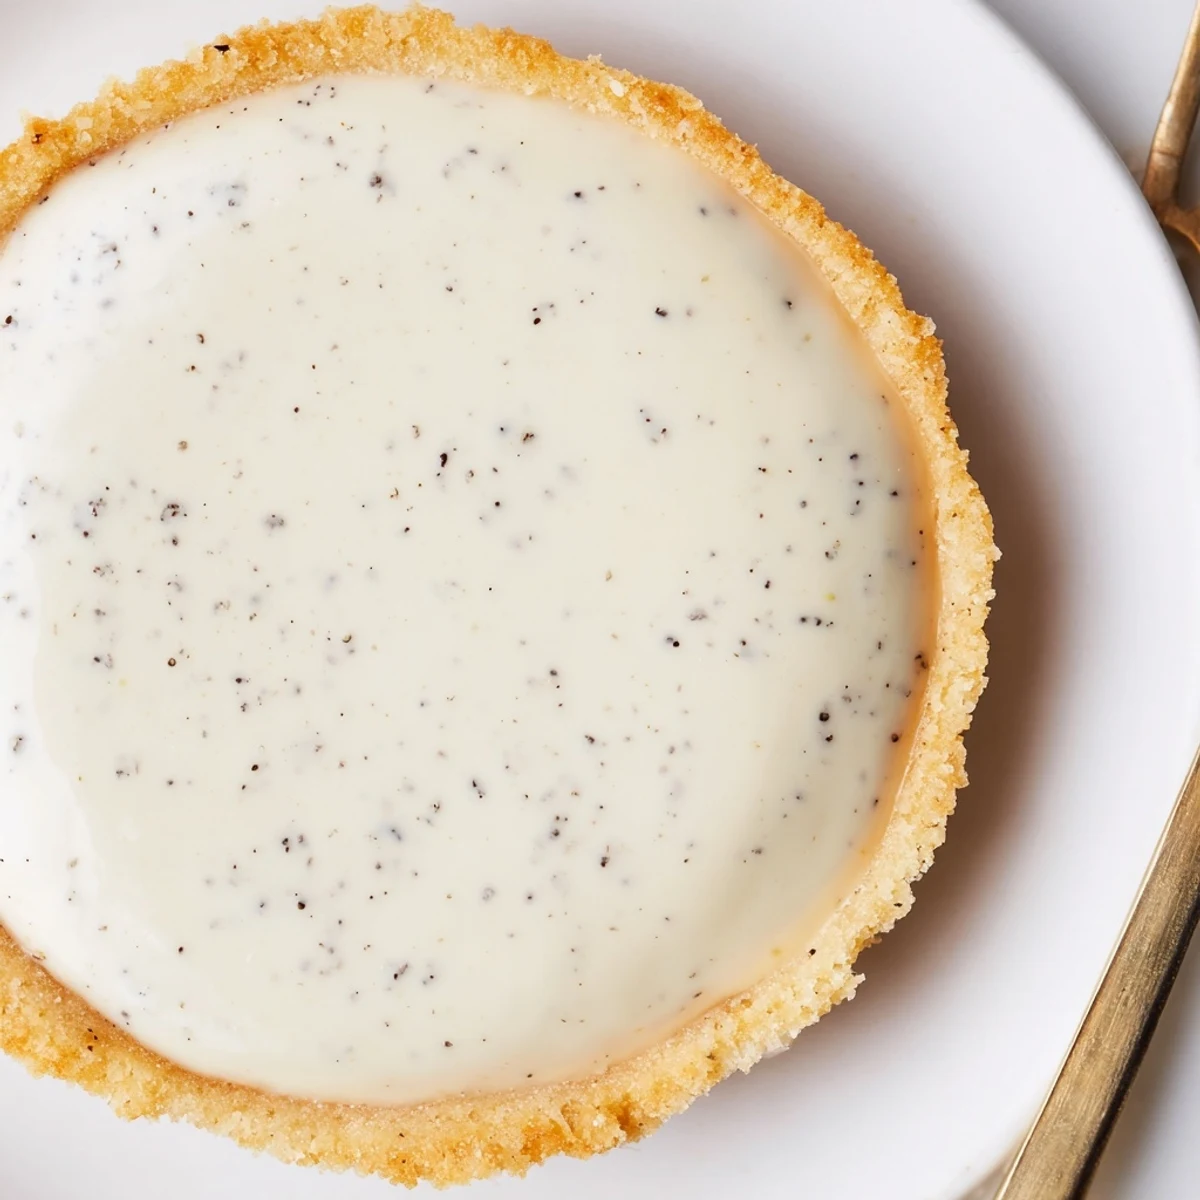
 This elegant tart combines a crisp, buttery pastry shell with a luxuriously smooth vanilla bean pastry cream filling. The crust, made with cold butter and egg yolk, bakes to golden perfection while the silky cream filling infuses rich vanilla flavor throughout. The assembly creates a beautiful presentation, especially when topped with fresh berries or a dusting of powdered sugar. Ideal for dinner parties, celebrations, or whenever you want to serve an impressive dessert that balances textures and flavors beautifully.
The summer humidity was clinging to everything when I decided vanilla bean tarts were exactly what my backyard dinner party needed. My tiny apartment kitchen became a battlefield of flour and butter, but something about scraping those tiny black seeds from the pod felt meditative. That first bite, when the crisp shell gave way to the silkiest cream I had ever made, changed how I thought about dessert entirely. My friend Sarah actually closed her eyes mid-conversation and whispered, "You have to teach me this."
I made this tart again last fall for my sister's birthday, and she told me it reminded her of the pastries we'd shared in Paris years ago. We sat at her kitchen table until midnight, eating slice after slice and talking about how some recipes just feel like they belong in your blood. The way the vanilla perfumes the entire house while the cream thickens on the stove is pure kitchen magic.
Ingredients
- All-purpose flour: The backbone of your crust, giving structure without being tough
- Cold unsalted butter: Keeping it cold is non-negotiable for that flaky, melt-in-your-mouth texture
- Powdered sugar: Dissolves beautifully into the dough and creates a more tender crust than granulated
- Fine sea salt: Just enough to make the vanilla sing without making this taste salty
- Egg yolk: Adds richness and helps bind the dough together
- Whole milk: Full fat is essential for the velvety texture we are after
- Vanilla bean: Those tiny black specks are not just pretty, they pack incredible flavor
- Egg yolks: Four yolks create that luscious, pudding-like consistency
- Granulated sugar: Sweetens the cream just enough to let vanilla take center stage
- Cornstarch: The thickening agent that transforms hot milk into silky pastry cream
- Softened butter: Whisked in at the end for an impossibly smooth finish
Instructions
- Make the pastry dough:
- Pulse flour, powdered sugar, and salt in a food processor until combined, then add cold butter and pulse until the mixture looks like coarse crumbs.
- Bring the dough together:
- Add the egg yolk and pulse again, then drizzle in ice water one tablespoon at a time just until the dough starts to clump together.
- Chill the dough:
- Press the dough into a disk, wrap it tightly, and let it rest in the fridge for at least an hour so it relaxes and becomes easier to work with.
- Preheat and prep:
- Heat your oven to 350°F and get ready to roll out the dough on a lightly floured surface.
- Shape the tart shell:
- Roll the dough to fit a 9-inch tart pan, press it gently into the corners, and trim any excess from the edges.
- Blind bake the crust:
- Prick the base with a fork, line with parchment, fill with pie weights, and bake for 15 minutes before removing the weights and baking until golden.
- Infuse the milk:
- Heat the milk with both the vanilla bean seeds and pod until just simmering, then remove the pod and let the milk cool slightly.
- Prepare the egg base:
- Whisk egg yolks, sugar, cornstarch, and salt until the mixture is pale and perfectly smooth.
- Temper the eggs:
- Slowly pour the hot vanilla milk into the egg mixture while whisking constantly so the eggs do not scramble.
- Thicken the cream:
- Return everything to the saucepan and cook over medium heat, whisking nonstop, until the mixture bubbles and thickens.
- Finish the pastry cream:
- Remove from heat, whisk in softened butter until glossy, then press plastic wrap directly onto the surface and chill completely.
- Assemble the tart:
- Spread the cold pastry cream into your cooled tart shell and add fresh berries or a dusting of powdered sugar if you like.
 Save to Pinterest
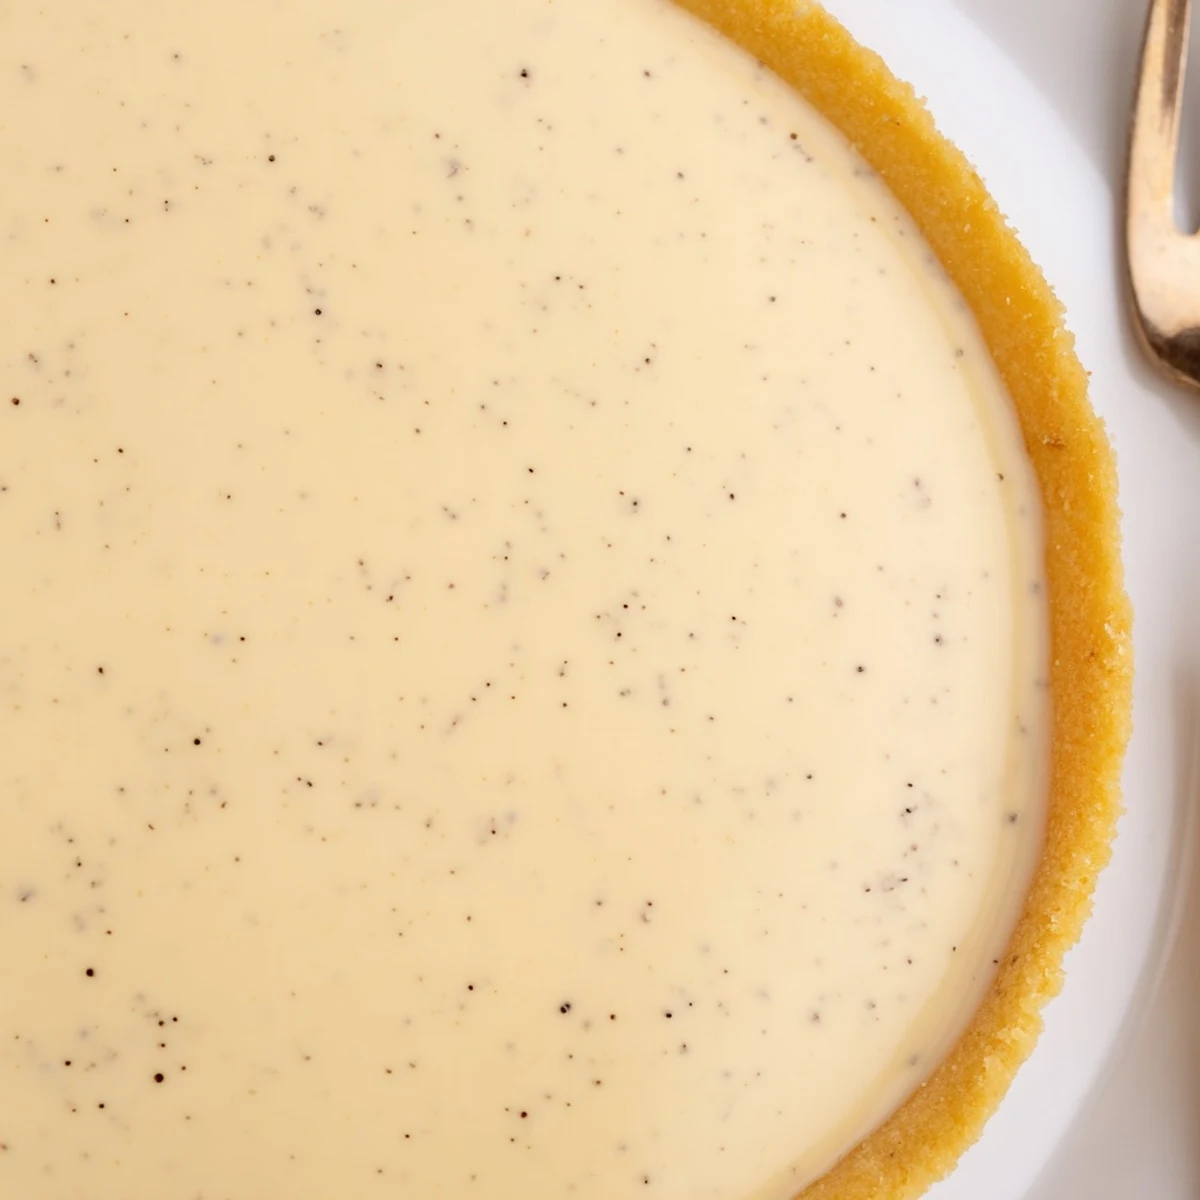
 There is something deeply satisfying about sliding a finished tart onto a serving plate and hearing that gentle clink against the porcelain. My grandmother always said that desserts made with patience and care taste better, and I finally understand what she meant.
Making The Crust Your Own
I have learned that keeping everything incredibly cold is the secret to a flaky crust. Working quickly and not overhandling the dough makes all the difference between tough and tender pastry.
Getting That Silky Consistency
The moment when the pastry cream suddenly thickens on the stove feels like magic every single time. Whisking constantly and paying close attention prevents any scorching on the bottom of the pan.
Serving And Storage
This tart is best served the same day it is assembled, but the components can be prepared ahead of time for easier entertaining.
- Brush the cooled crust with melted white chocolate for an extra moisture barrier
- Top with whatever fruit looks freshest and most inviting at the market
- Keep the tart chilled until the very moment you are ready to serve
 Save to Pinterest
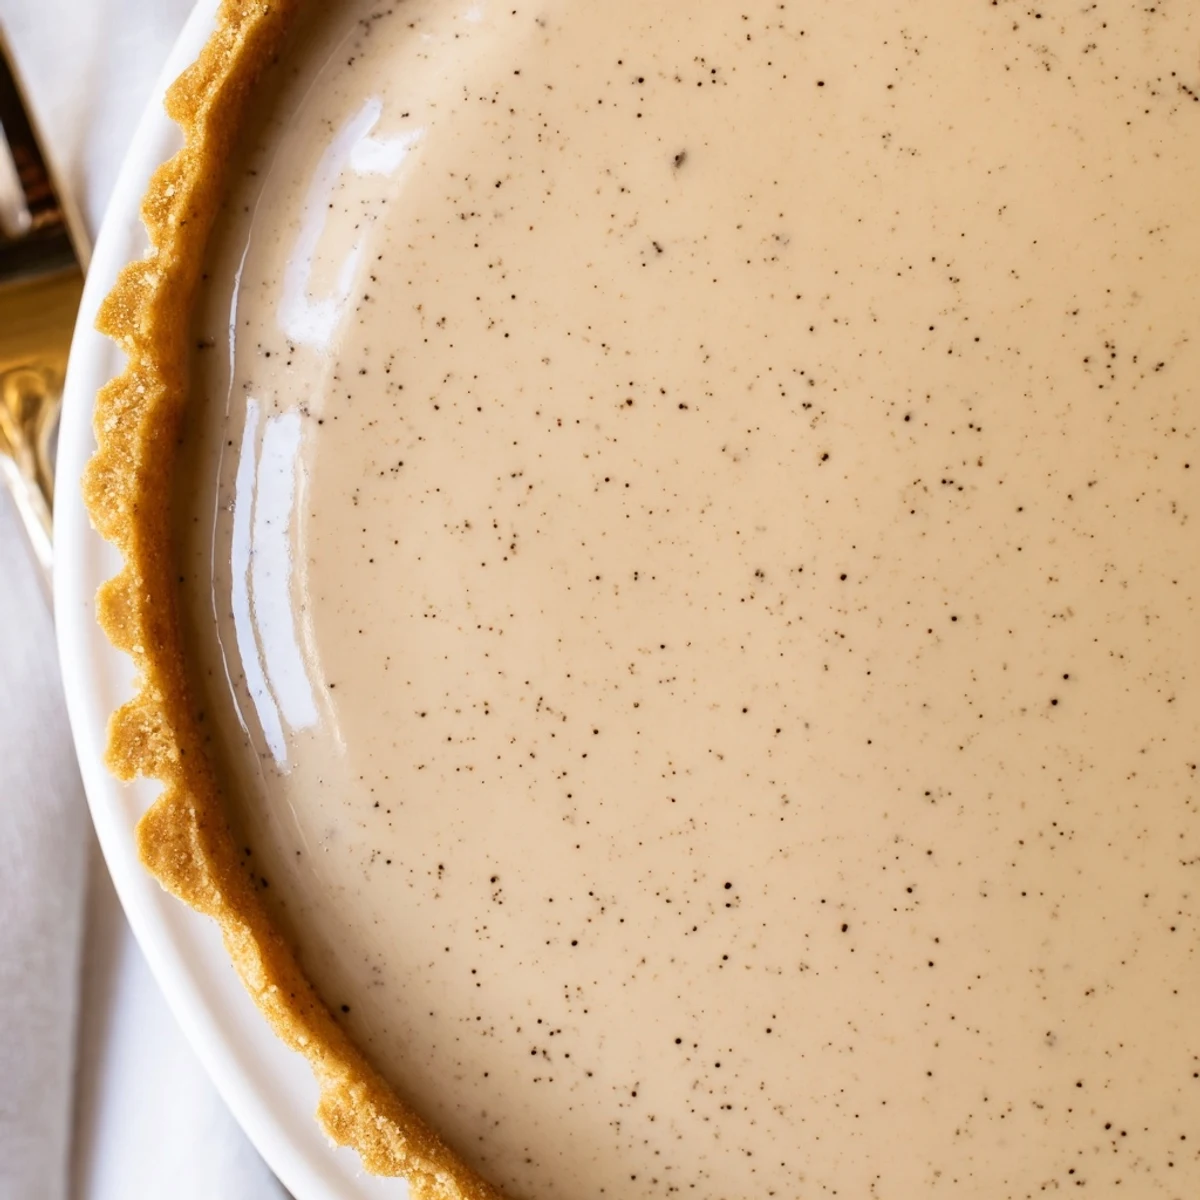
 Every time I make this tart, I am reminded that some of the best things in life really do take a little time and attention. There is nothing quite like watching someone take that first bite and seeing their eyes light up.
Recipe FAQs
- → Can I make pastry cream ahead of time?
-
Yes, pastry cream can be prepared up to 2 days in advance. Store it in a bowl with plastic wrap pressed directly onto the surface to prevent a skin from forming. Keep refrigerated until ready to fill your tart.
- → How do I prevent a soggy tart crust?
-
Blind bake the crust completely before filling. Use pie weights or dried beans during the initial baking, then remove them and continue baking until the bottom is fully golden and cooked through. Let the crust cool completely before adding the pastry cream.
- → What fruits work best for topping?
-
Fresh berries like strawberries, raspberries, or blueberries complement vanilla beautifully. Stone fruits such as sliced peaches or plums also work wonderfully when in season. Arrange them artfully on top just before serving.
- → Can I use vanilla extract instead of vanilla bean?
-
While vanilla bean provides those signature black specks and intense flavor, you can substitute with 2 teaspoons of pure vanilla bean paste or high-quality vanilla extract. The flavor will still be delicious, though visually different.
- → How long does the assembled tart keep?
-
The filled tart is best served the same day for optimal texture. However, it can be refrigerated for up to 24 hours. The crust may soften slightly over time. Store loosely covered with plastic wrap, and bring to room temperature before serving.
- → What if my pastry cream becomes lumpy?
-
If lumps form during cooking, immediately strain the pastry cream through a fine-mesh sieve while it's still hot. Whisk vigorously as you strain to smooth it out. Then continue whisking in the butter until completely smooth and glossy.