 Save to Pinterest
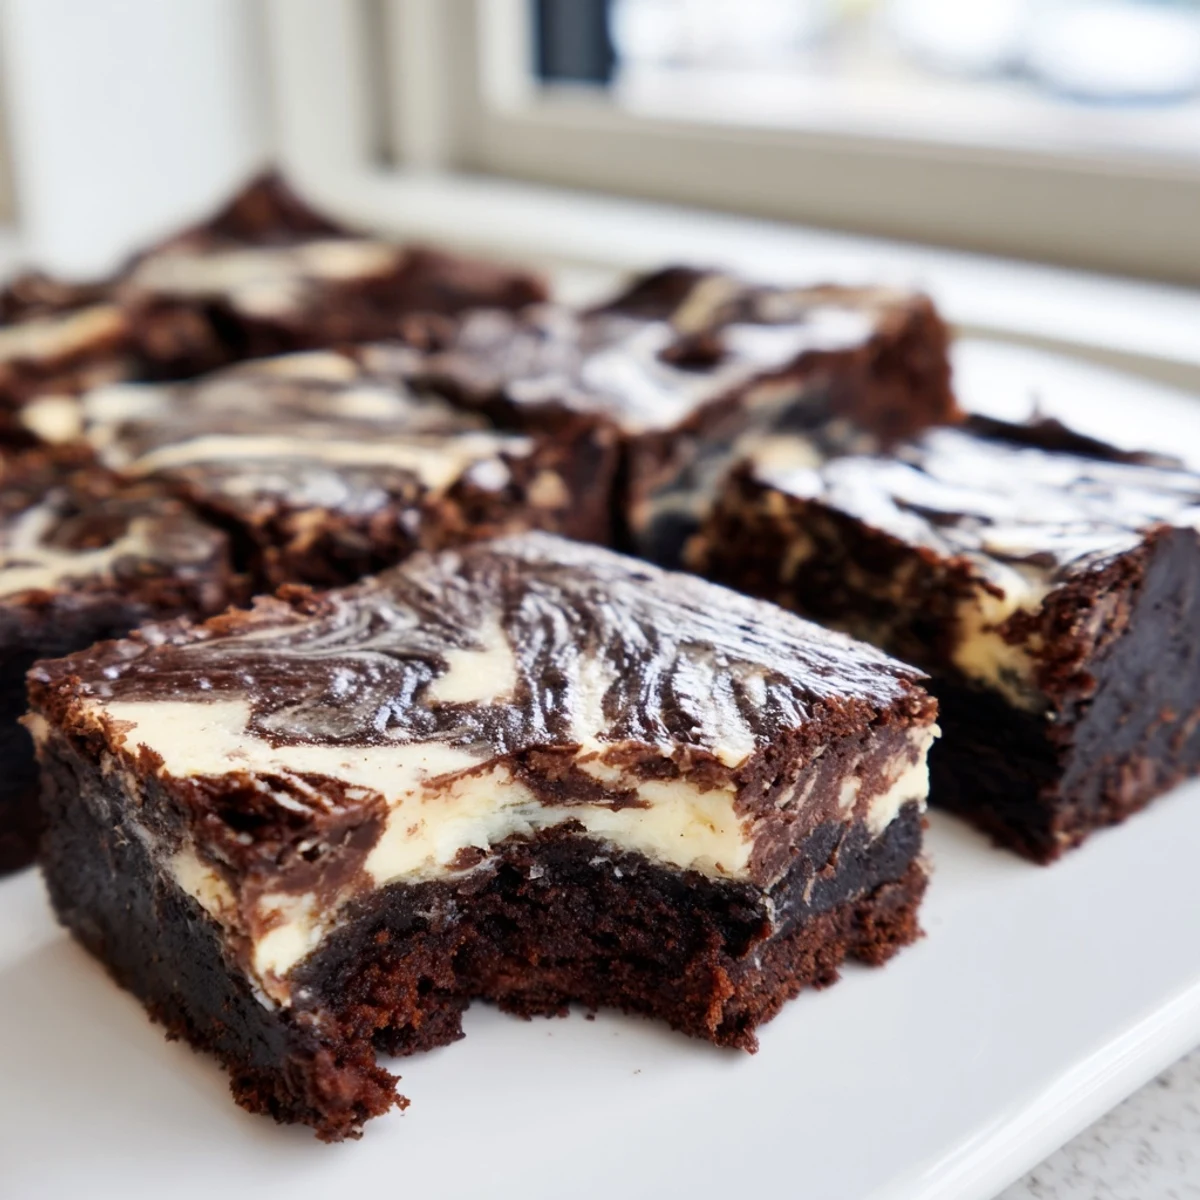
 These rich, fudgy brownie bars combine the deep chocolate flavor of traditional brownies with a creamy tangy cheesecake swirl, elevated by the subtle complexity of sourdough discard. The result is a decadent 16-bar dessert that balances sweetness with pleasant tanginess while reducing kitchen waste through creative sourdough usage.
The brownie layer delivers intense chocolate notes with a moist, dense texture, while the cheesecake swirl adds creaminess and brightness. The sourdough contributes subtle depth and helps create a tender crumb. Perfect chilled for clean slices, these bars develop even deeper flavor after refrigeration.
Ready in just over an hour including chilling time, these bars offer an impressive dessert for gatherings or a special treat at home. The marbled presentation creates an eye-catching finish that tastes as wonderful as it looks.
The tang of sourdough discard hit me one Tuesday evening while staring at a jar I had ignored for a week, and somewhere between guilt and hunger I decided to fold it into brownie batter instead of throwing it out. The result was a moister, deeper flavored bar than anything I had ever pulled from my oven, with a faint tang that made the chocolate taste more itself. I swirled cheesecake through the top because why not, and the whole pan vanished at a potluck before I even got a piece.
I brought a tray of these to my neighbor Daves birthday cookout last spring, and his mother in law, who never compliments anything, pulled me aside to ask for the recipe. We stood by the cooler for fifteen minutes talking about sourdough starters while burgers burned on the grill behind us.
Ingredients
- Unsalted butter (115 g, melted): The fat base that makes everything tender and rich, and melting it means no creaming step is needed.
- Granulated sugar (150 g for brownies, 60 g for cheesecake): Divided between the two layers, each amount calibrated so neither overwhelms the other.
- Large eggs (3 total): Two for the brownie layer for structure and one for the cheesecake for silkiness.
- Sourdough discard (100 g, unfed): This is the star, adding moisture and a gentle acidity that amplifies the chocolate without tasting sour.
- Vanilla extract (1 tsp for brownies, 1/2 tsp for cheesecake): Always use real extract here because the flavor shines through both layers.
- All purpose flour (60 g): Just enough to hold the brownie together without turning it cakey.
- Unsweetened cocoa powder (40 g): Use a quality brand because this carries the entire chocolate flavor of the brownie base.
- Fine sea salt (1/4 tsp): A small pinch that balances sweetness and wakes up every other flavor.
- Cream cheese (200 g, softened): Full fat and room temperature is non negotiable for a smooth cheesecake layer without lumps.
Instructions
- Prepare your pan and oven:
- Heat the oven to 175 degrees C (350 degrees F) and line a 20 x 20 cm pan with parchment, leaving flaps hanging over the edges so you can lift the whole thing out later.
- Build the brownie batter:
- Stir melted butter and sugar together in a large bowl until they look glossy, then whisk in the eggs one at a time followed by the sourdough discard and vanilla until everything is smooth and slightly bubbly.
- Add the dry ingredients:
- Sift the flour, cocoa powder, and salt directly into the wet mixture and fold gently with a spatula just until you stop seeing dry streaks, because overmixing makes tough brownies.
- Make the cheesecake layer:
- Beat the softened cream cheese and sugar in a separate bowl until completely smooth with no lumps, then blend in the egg and vanilla until the mixture is silky and uniform.
- Layer and swirl:
- Spread roughly three quarters of the brownie batter evenly in the pan, pour the cheesecake mixture over the top, dollop the remaining brownie batter in spoonfuls, and drag a skewer through in figure eights to create a marbled pattern.
- Bake until just set:
- Bake for 32 to 36 minutes until the center has the faintest jiggle and a toothpick comes out with moist crumbs clinging to it rather than wet batter.
- Cool and chill:
- Let the pan cool completely at room temperature, then refrigerate for one to two hours before slicing into sixteen bars so the edges come out perfectly clean.
 Save to Pinterest
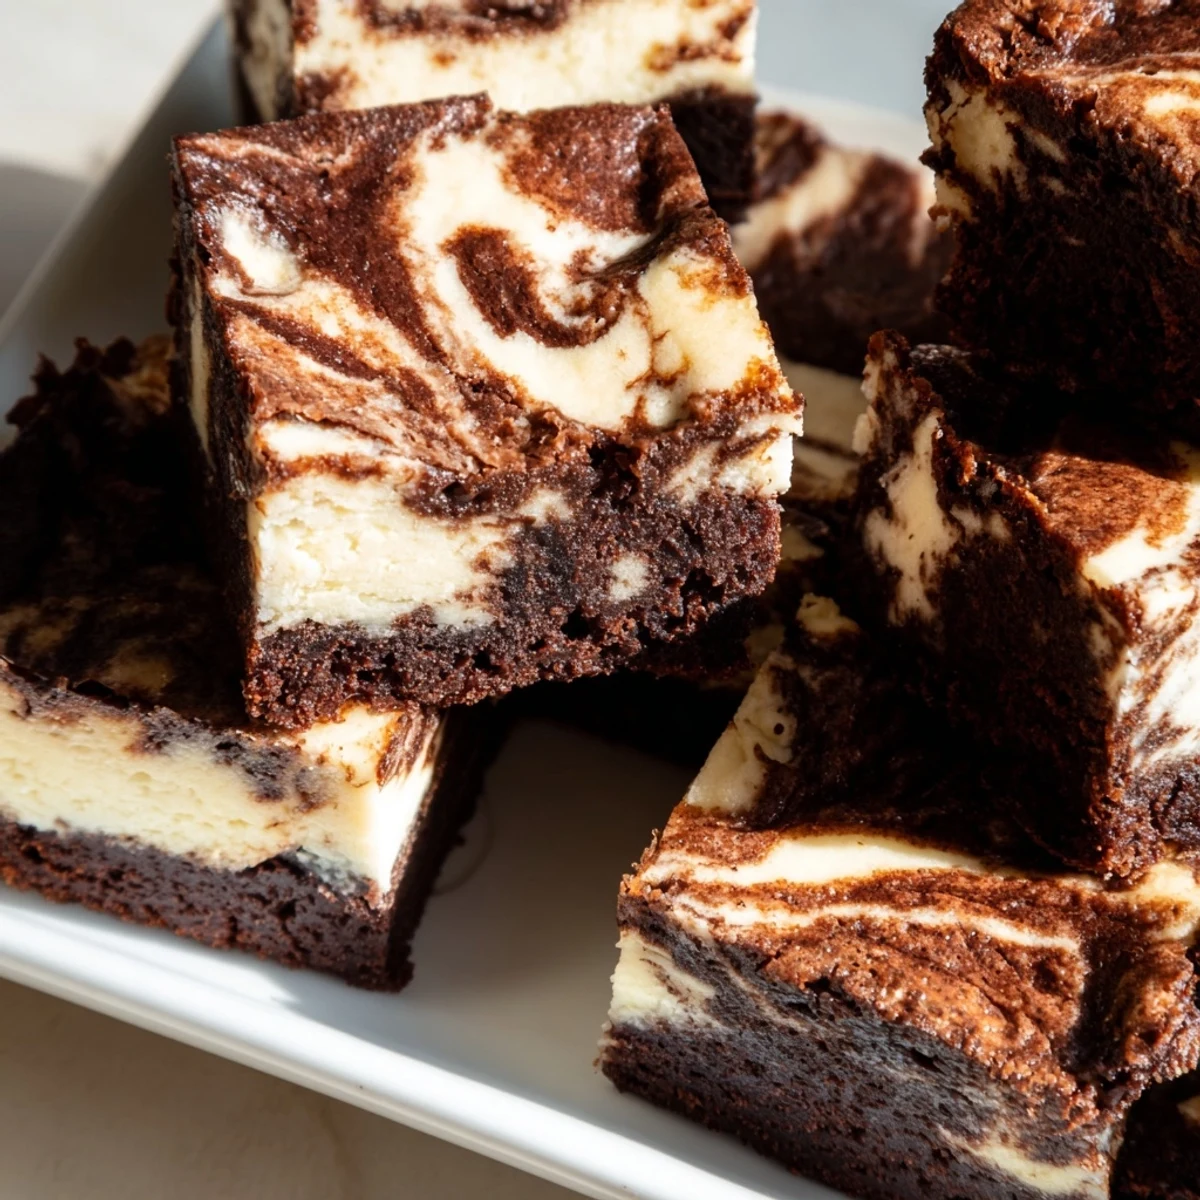
 The moment I lifted the parchment sling out of the pan and saw those clean marbled edges, I knew this recipe was going into my permanent rotation. My partner now requests them every time our jar of discard starts looking neglected on the counter.
Making It Your Own
Toss a handful of dark chocolate chips into the brownie batter if you want pockets of melted chocolate in every bite. You can also add a teaspoon of espresso powder to deepen the chocolate flavor without making it taste like coffee.
Gluten Free Adaptation
Swap the all purpose flour for a one to one gluten free blend and double check your cocoa powder label. The texture changes slightly but the tangy chocolate combination holds up beautifully.
Storage and Serving
Keep leftover bars in an airtight container in the refrigerator for up to five days, though they rarely last that long in my house. They taste even better on the second day when the flavors have had time to meld and the texture settles into something dense and truffle like.
- Let chilled bars sit at room temperature for ten minutes before serving for the best texture.
- Freeze individually wrapped bars for up to three months and thaw overnight in the fridge.
- Always use a sharp knife wiped clean between cuts for the neatest slices.
 Save to Pinterest
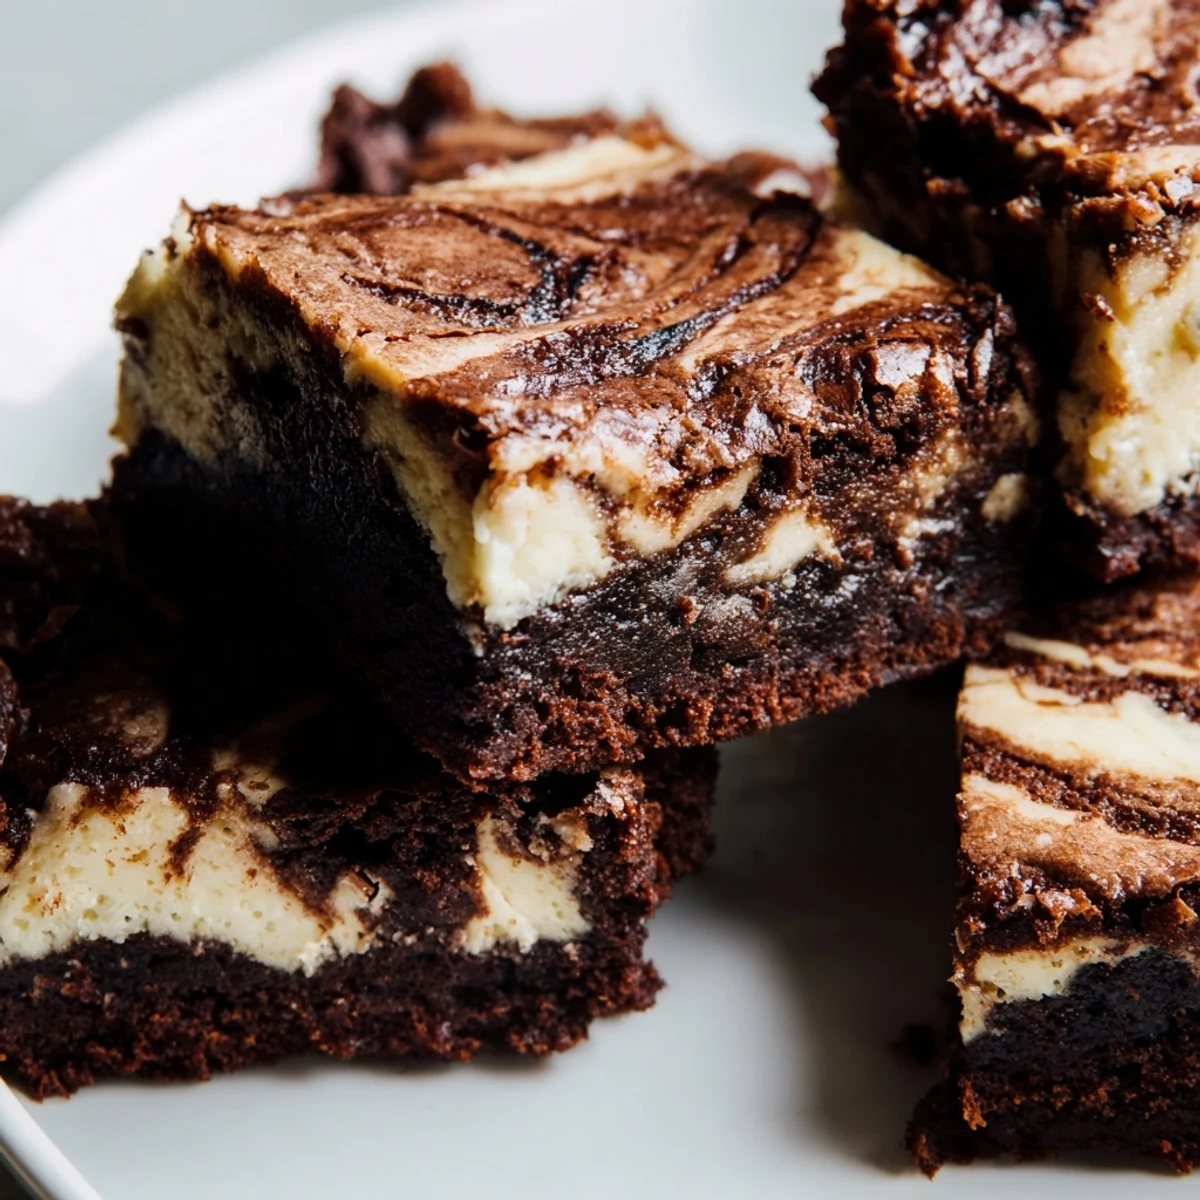
 These bars turned my sourdough discard from a guilt trip into the most requested dessert in my kitchen, and I hope they do the same for you.
Recipe FAQs
- → What does sourdough add to these bars?
-
Sourdough discard contributes subtle tangy depth and helps create a tender, moist texture in the brownie layer. It's a clever way to use unfed starter while reducing kitchen waste.
- → Can I make these without sourdough?
-
Yes, you can substitute an equal amount of flour or milk for the sourdough discard, though you'll lose the subtle tang and tender texture that sourdough provides.
- → Why must these be chilled before cutting?
-
Chilling for 1-2 hours allows the cheesecake layer to set completely and the flavors to meld together. This ensures clean, neat slices rather than messy, crumbly edges.
- → How do I know when these are done baking?
-
The bars are ready when the center barely jiggles when gently shaken and a toothpick inserted comes out with moist crumbs rather than wet batter. Overbaking will dry them out.
- → Can these be frozen?
-
Yes, wrap individual bars tightly in plastic wrap and freeze for up to 3 months. Thaw overnight in the refrigerator for best texture and flavor.
- → What creates the marbled swirl effect?
-
Reserve 1/4 of the brownie batter and dollop it over the cheesecake layer, then use a skewer or knife to gently swirl the two layers together without overmixing.