 Save to Pinterest
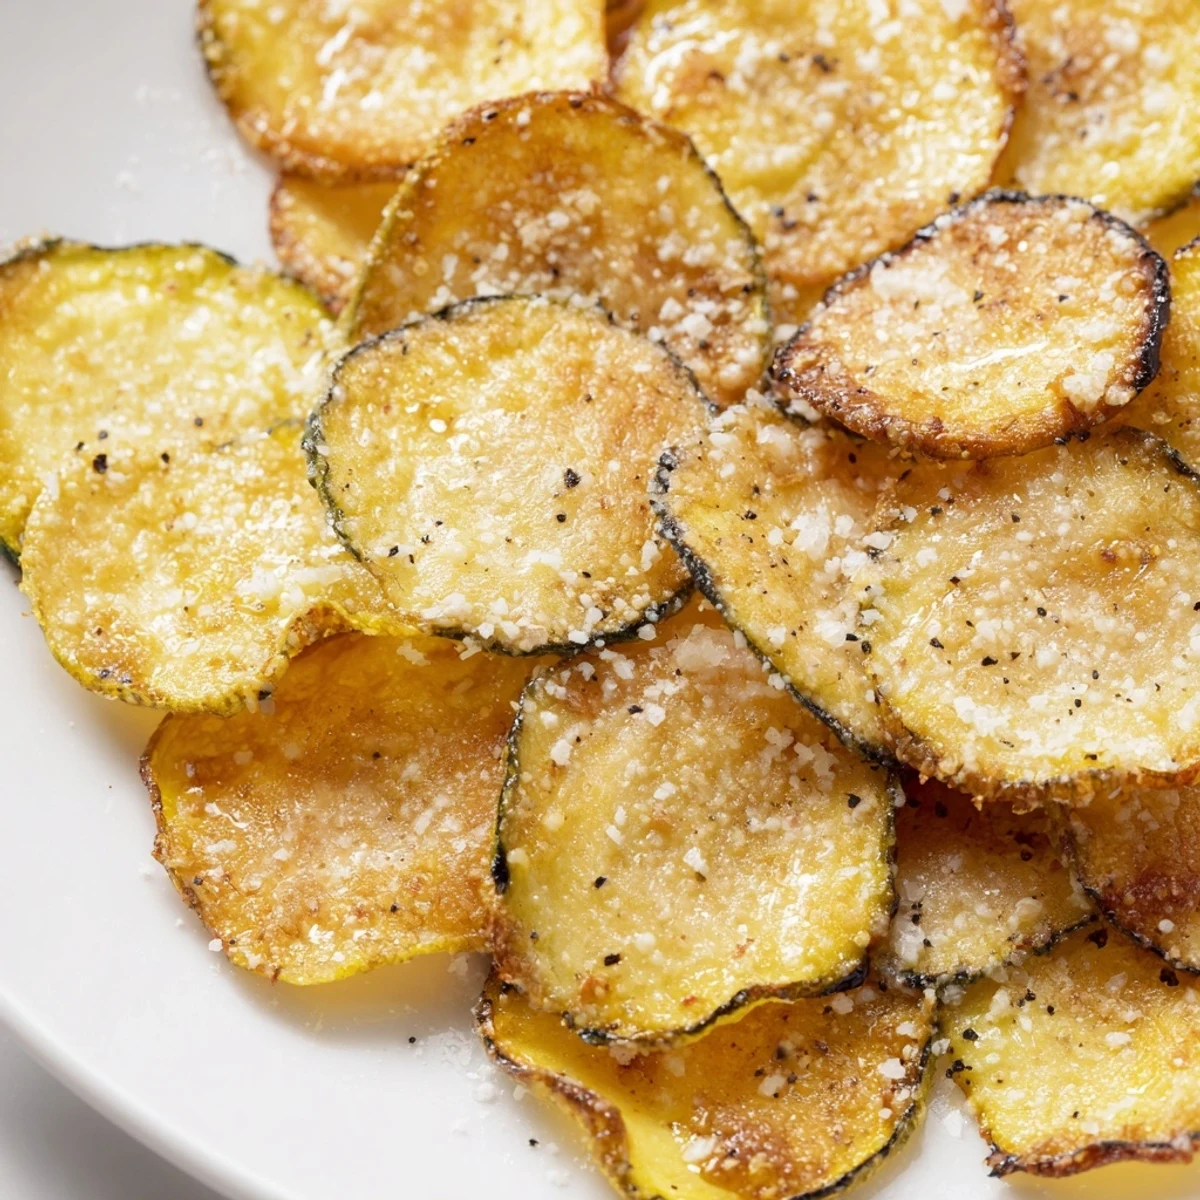
 Enjoy thinly sliced zucchini rounds baked or air-fried until crisp and golden. Tossed with olive oil, salt, pepper, garlic powder, and optional smoked paprika and Parmesan for added flavor. Perfect as a healthy snack or side dish, these crunchy chips come together quickly and offer a delicious alternative to traditional snacks. For a vegan option, skip the cheese or use dairy-free substitutes. Ideal for gluten-free, low-carb diets and easy to prepare using an oven or air fryer.
My kids discovered these by accident one afternoon when I was experimenting with leftover zucchini from the farmers market. I'd been meaning to make chips for weeks, but kept putting it off—until they wandered into the kitchen as the oven clicked on and asked what that smell was. Twenty minutes later, they were hovering over the cooling tray with their hands outstretched, completely mesmerized by something they'd normally push to the side of their plate.
The real turning point came when I served these alongside grilled chicken at a small dinner party, positioned in a bowl right next to the main dish. My friend who claims she "doesn't do vegetables" grabbed a handful without thinking, then paused mid-chew with genuine surprise. That moment—when someone realizes something crunchy and salty is actually good for them—never gets old.
Ingredients
- 2 medium zucchinis: Look for firm ones without soft spots; smaller zucchinis tend to be less watery and slice more evenly.
- 2 tablespoons olive oil: This is what creates the golden color and helps seasoning stick, so don't skip it or use too little.
- 1/2 teaspoon sea salt: Sea salt dissolves better and tastes cleaner than table salt on these delicate chips.
- 1/2 teaspoon freshly ground black pepper: Fresh pepper makes a noticeable difference in the final flavor—pre-ground tends to taste flat here.
- 1/2 teaspoon garlic powder: Adds savory depth without making things wet like fresh garlic would.
- 1/4 teaspoon smoked paprika (optional): This ingredient taught me that a tiny amount goes a long way and can completely change the personality of the chip.
- 1/4 cup grated Parmesan cheese (optional): Adds umami and helps with browning; skip it for dairy-free versions and bump up the salt slightly.
Instructions
- Set your stage:
- Preheat your oven to 225°F and line two baking sheets with parchment paper, or heat an air fryer to 375°F. A low, slow oven takes longer but gives you more control—if you rush with high heat, the outsides burn before the insides dry out.
- Prepare your zucchini:
- Wash and thoroughly dry each zucchini—moisture is the enemy of crispiness. Slice them into thin rounds about 1/8 inch thick using a mandoline or sharp knife; consistency matters here more than perfection.
- Coat and season:
- Toss the slices in olive oil until they all have a light sheen, then sprinkle with your seasoning mix and toss again. The oil acts as glue, holding everything in place.
- Arrange with care:
- Lay the slices in a single layer on your baking sheets or air fryer basket without overlapping; crowding them traps steam and prevents crispiness. If you have too many, use extra pans rather than stacking.
- Bake until golden:
- Bake for 35-45 minutes, flipping halfway through, watching for that beautiful golden-brown color. In an air fryer, cook for 10-15 minutes at 375°F, shaking the basket halfway through.
- Cool and crisp:
- Remove from heat and let rest for 5 minutes—this final resting period is when they firm up completely. Resist the urge to eat them immediately; they'll taste better once cooled slightly.
 Save to Pinterest
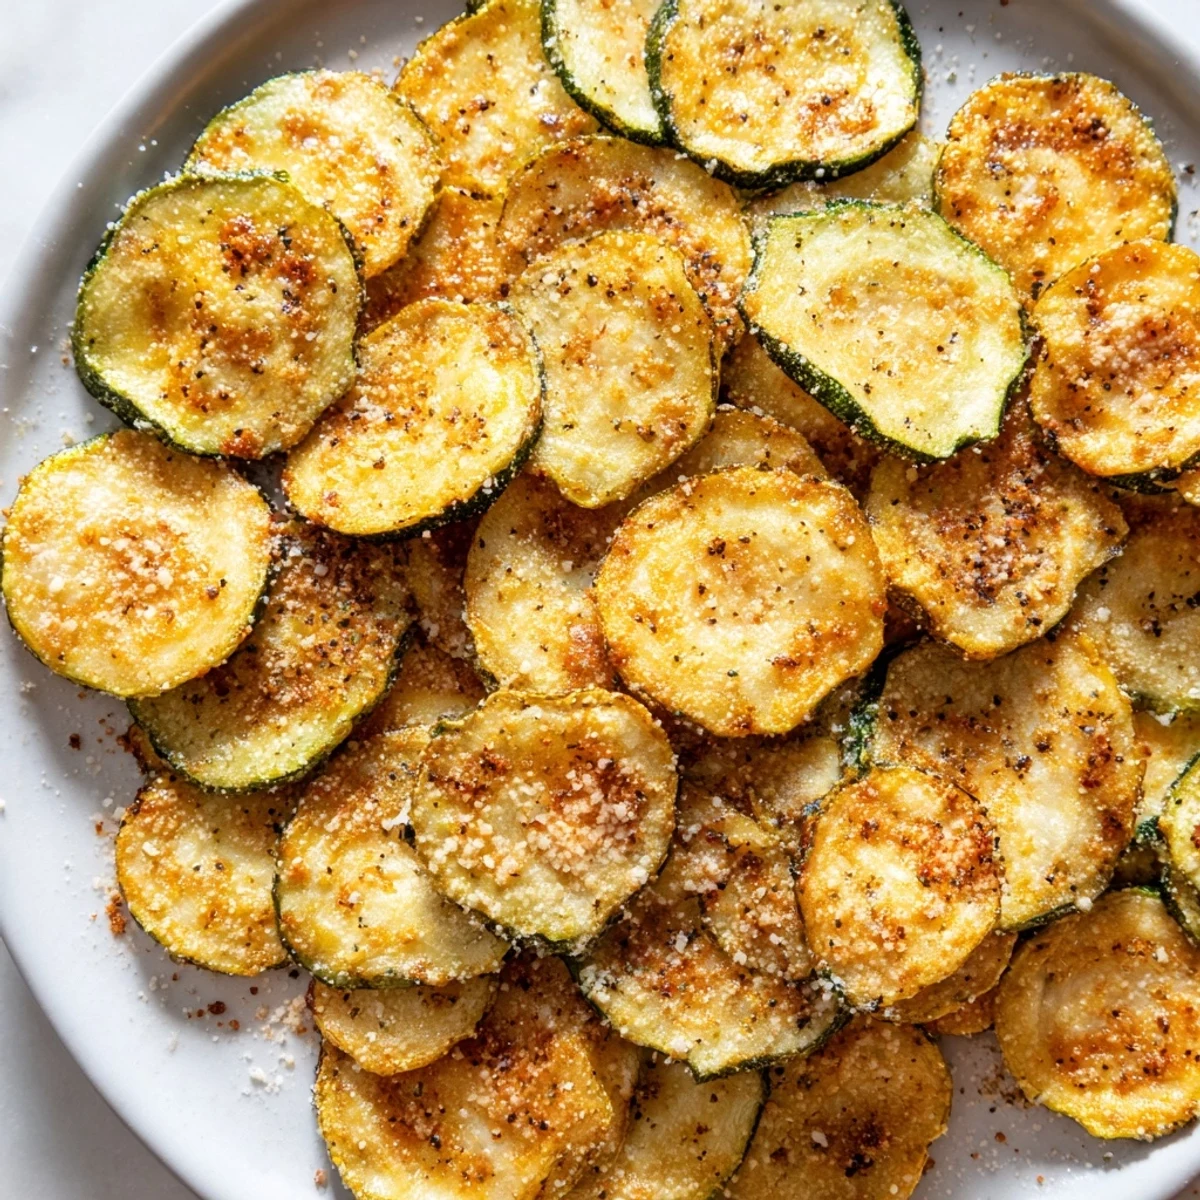
 What surprised me most was when my partner, who's admittedly not the adventurous type in the kitchen, started reaching for these over store-bought snacks. There's something about homemade crispiness that hits different—it tastes fresher, less processed, and somehow more real.
The Mandoline Question
If you have a mandoline, use it—the uniformity matters because thin slices cook at the same rate. But a sharp knife works too if you're patient and careful; just aim for consistency over speed. The first time I used my mandoline, I was nervous about my fingertips, so I bought a guard, and it was worth every penny of peace of mind.
Oven vs. Air Fryer
The oven gives you more chips and takes longer, which feels more meditative—you can prep other things while they cook. The air fryer is faster and uses less energy, but the basket holds fewer slices at once. Both methods work beautifully; pick whichever fits your day and your kitchen rhythm.
Make Them Your Own
The seasoning is just a starting point—this recipe is forgiving and fun to customize. Once you've made the basic version and know how it turns out, start playing around with what you love.
- Try adding Italian herbs, chili powder, or even a pinch of cinnamon for something unexpected.
- Serve them alongside a yogurt dip, hummus, or even a sriracha mayo for dipping.
- Store cooled chips in an airtight container for up to 2 days, though they rarely last that long.
 Save to Pinterest
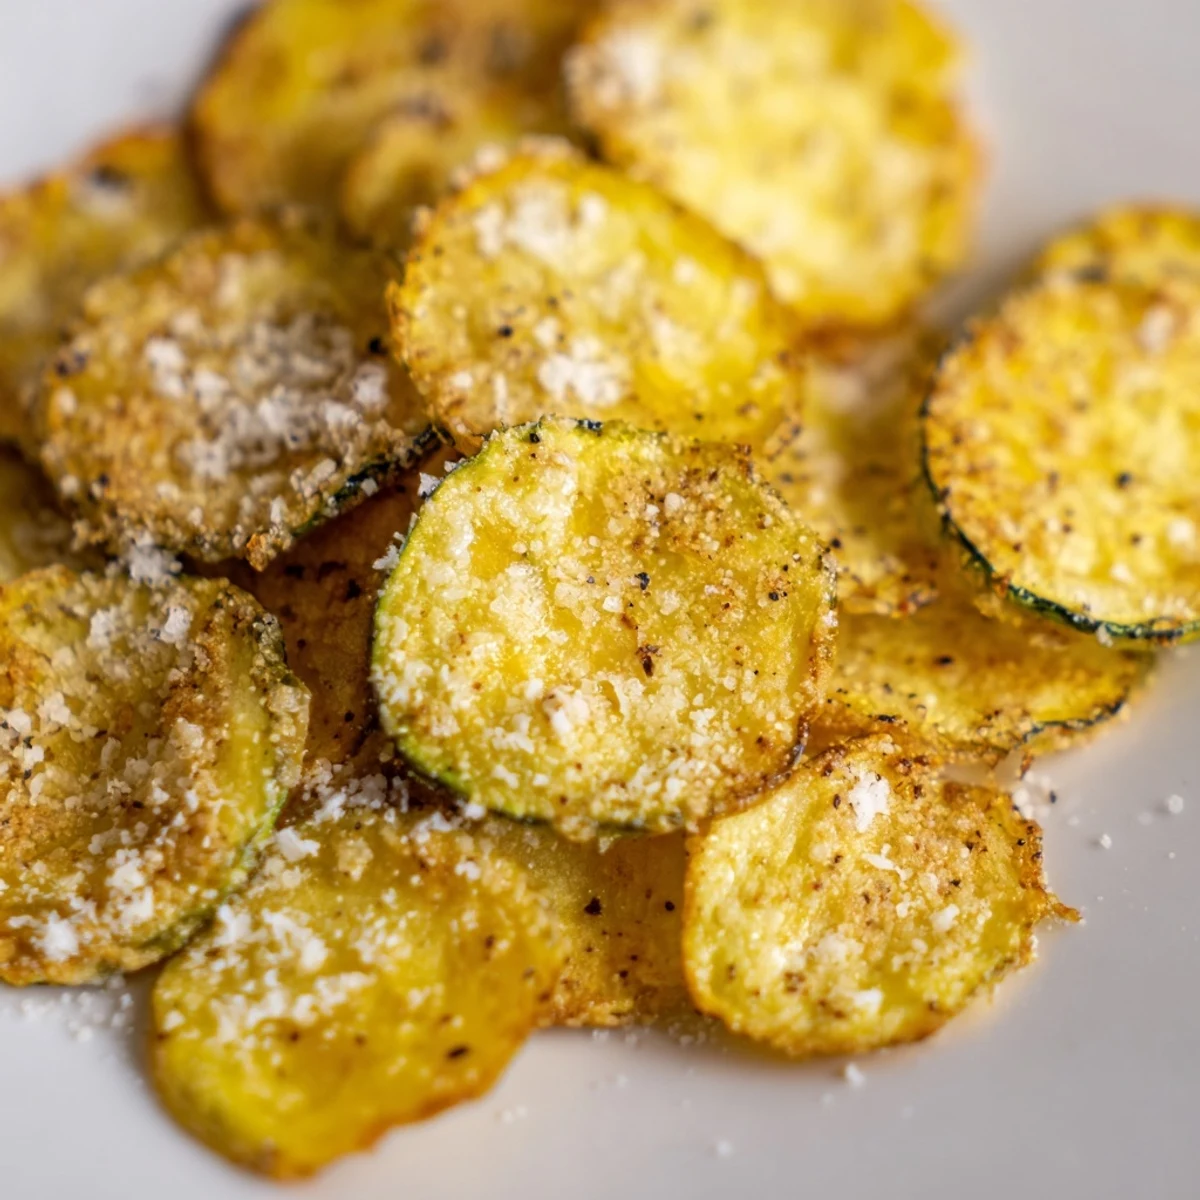
 These chips taught me that sometimes the best kitchen discoveries come from trying to use up what's in the fridge rather than following a plan. Now they're a regular part of our snack rotation and a reliable way to make vegetables disappear.
Recipe FAQs
- → How do I get zucchini chips crispy?
-
Slicing zucchini very thin and patting dry before seasoning helps achieve crispiness. Bake or air-fry at low heat for 35-45 minutes, flipping once.
- → Can I make these chips vegan?
-
Yes, simply omit Parmesan cheese or replace it with a dairy-free alternative to keep the chips vegan-friendly.
- → Is an air fryer better than an oven for these chips?
-
An air fryer cooks these chips faster (10-15 minutes) and promotes crispness by circulating hot air evenly, but baking works well too.
- → What spices can enhance zucchini chips?
-
Besides salt, pepper, and garlic powder, try smoked paprika, chili powder, or Italian herbs to add extra flavor layers.
- → How should I store leftover zucchini chips?
-
Store them in an airtight container at room temperature for up to 2 days to maintain crunchiness.