 Save to Pinterest
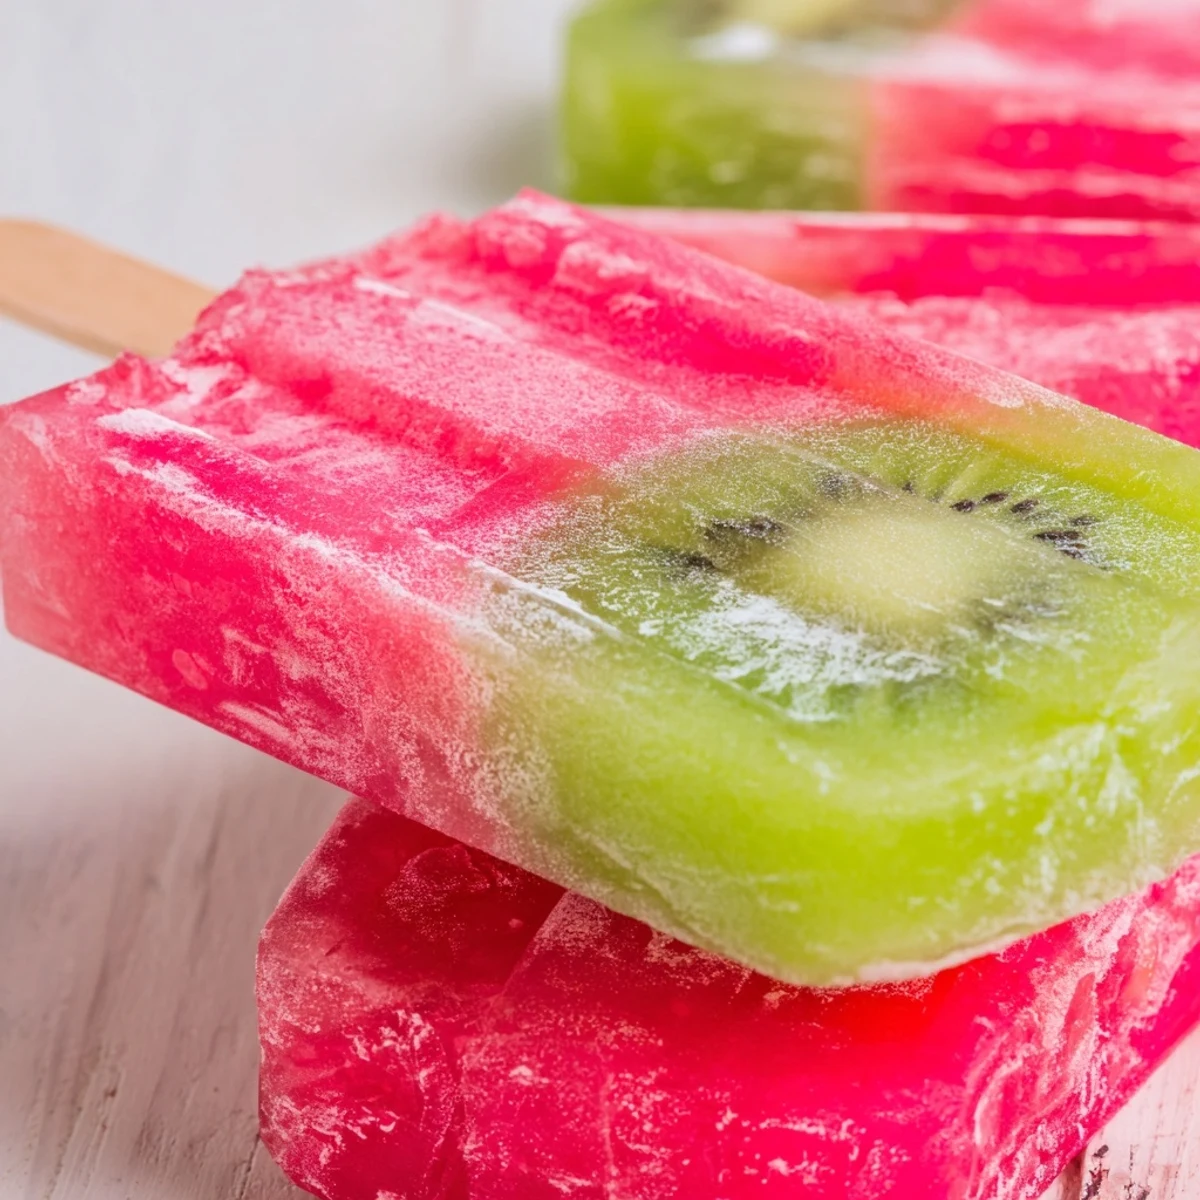
 These stunning two-layer frozen treats combine the sweet juiciness of fresh watermelon with the tangy brightness of kiwi. Each pop features a vibrant watermelon base topped with a green kiwi layer, creating both beautiful visual appeal and refreshing flavor. Perfect for cooling down on hot summer days, these naturally sweetened treats require just 20 minutes of active prep time before freezing. The result is a healthy, vegan, and gluten-free dessert that both kids and adults will love. Optional additions like fresh mint or diced fruit can customize the texture and flavor profile.
The thermometer on my porch read 103 degrees, and my kids had already gone through every popsicle in the freezer by noon. I stared at a watermelon sitting on the counter, too heavy for the fruit bowl, and figured there had to be a better use for it than slicing it into the same old wedges. That afternoon birthed something far prettier than I expected, and now every July barbecue in our house starts with me hauling out the blender.
My neighbor watched through the window while I poured the second layer and hollered asking what on earth I was making. I brought her one three hours later, still half frozen, and she stood in her driveway eating the whole thing without saying a word.
Ingredients
- Seedless watermelon (3 cups cubed): Pick a watermelon that feels heavy for its size and has a creamy yellow spot on the bottom, which tells you it ripened in the field properly.
- Fresh lime juice (2 tablespoons for watermelon, 1 tablespoon for kiwi): Bottled juice works in a pinch, but squeezing it fresh right before blending gives a brightness that wakes up both fruits beautifully.
- Agave syrup or honey (1 to 2 tablespoons, optional): Taste your fruit first, since a truly ripe watermelon rarely needs extra sweetness, but the kiwi layer sometimes benefits from a small drizzle.
- Ripe kiwis (3, peeled and sliced): Gently press the outside to check for slight give, because rock hard kiwis will taste tart and thin rather than lush and tropical.
Instructions
- Blend the watermelon base:
- Toss the cubed watermelon, lime juice, and sweetener into the blender and purée until you see a silky pink liquid with no chunks remaining. Hold back a tiny spoonful to taste and adjust sweetness before moving on.
- Fill the molds partially:
- Pour the watermelon purée into your popsicle molds, stopping at roughly two thirds full so you leave room for the kiwi layer later. Rap the molds on the counter a couple times to knock out sneaky air bubbles hiding at the bottom.
- Give the first layer a head start:
- Slide the molds into the freezer for about one hour until the surface firms up enough to support the next layer without the two colors bleeding together.
- Purée the kiwi layer:
- While you wait, blend the kiwi slices with lime juice and sweetener until completely smooth. The mixture should be a gorgeous bright green that smells like a tropical smoothie stand.
- Add the second layer and sticks:
- Pour the kiwi purée on top of the firmed watermelon layer, filling each mold almost to the brim, then insert the popsicle sticks straight into the center. The semi frozen base holds the sticks upright so you get a clean, professional look.
- Freeze until solid:
- Return everything to the freezer for at least three hours, though leaving them overnight yields the firmest, most satisfying bite. Patience here is the hardest ingredient.
- Release and enjoy:
- Run warm water over the outside of each mold for a few seconds, then grip the stick and pull gently with a slight twisting motion. They should slide out cleanly with both layers intact and gorgeous.
 Save to Pinterest
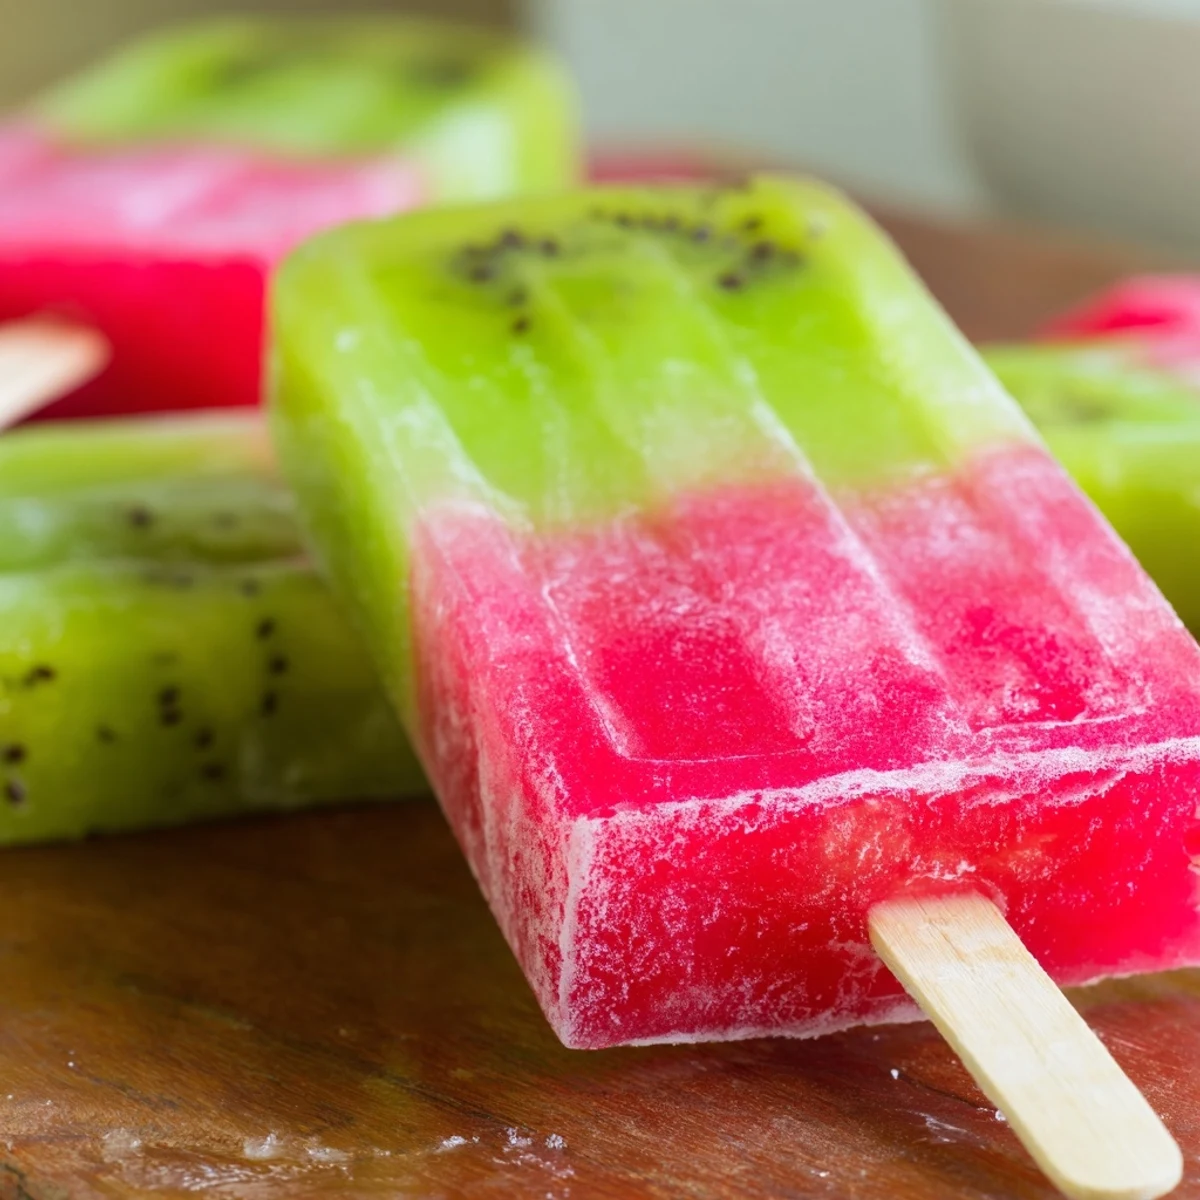
 There is something quietly magical about handing a child a popsicle you made yourself and watching their eyes go wide at the colors.
Making Them Look Fancy
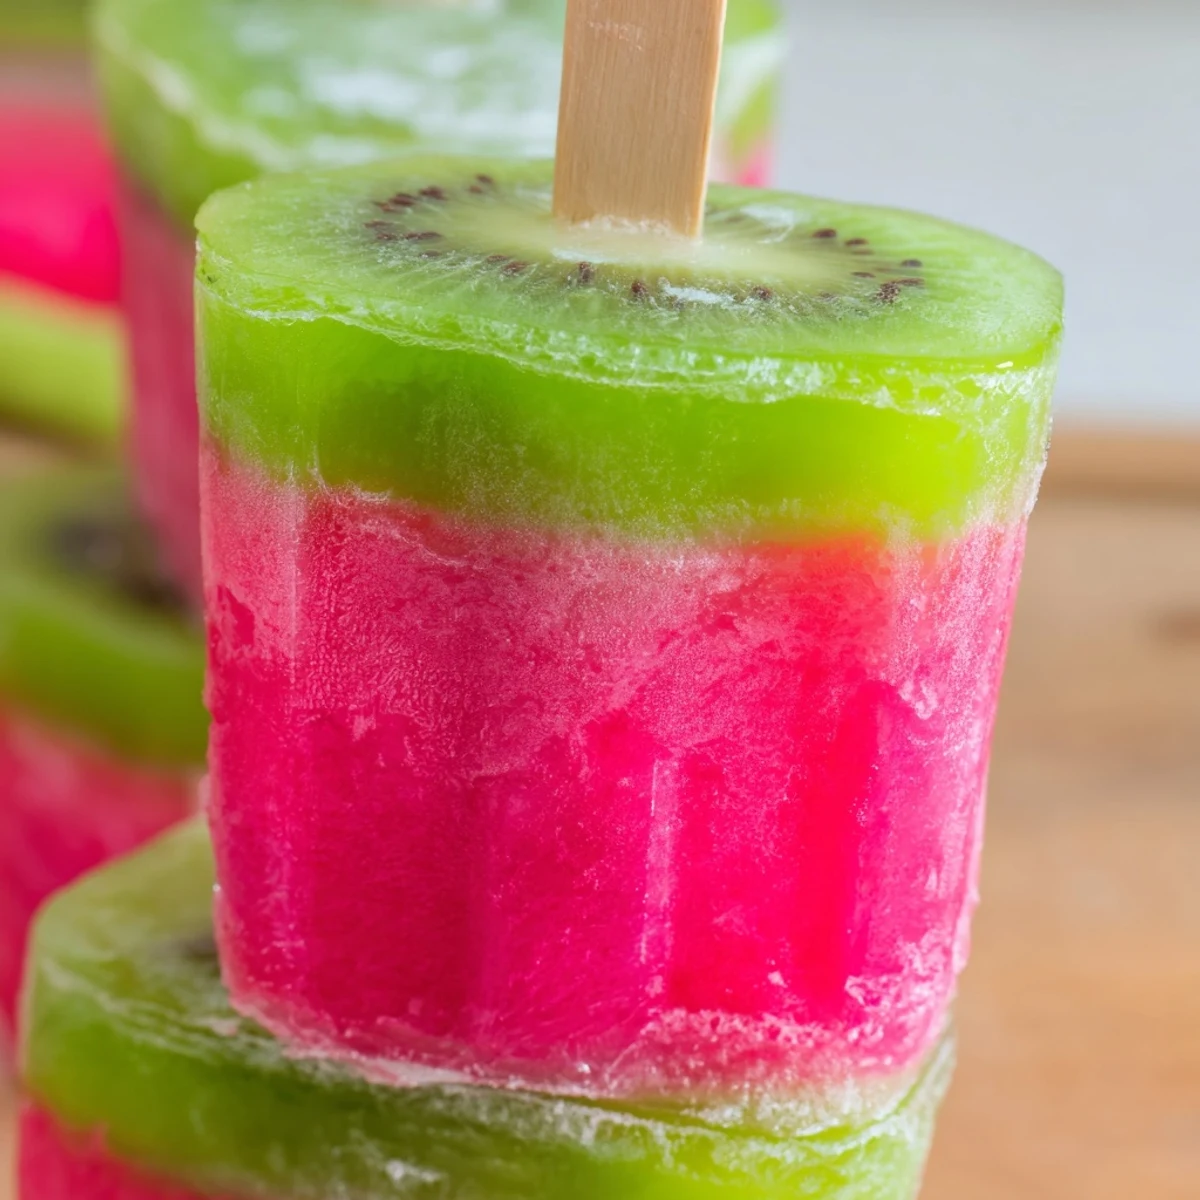
Press a few thin kiwi slices flat against the inside walls of each mold before pouring anything in. When you unmold the pops, those slices show through like stained glass and people will genuinely ask where you bought them.
Swaps and Additions
Chopped fresh mint folded into the watermelon layer adds a cooling finish that feels almost spa like on a brutal afternoon. You could also stir in tiny diced watermelon or kiwi pieces right before freezing for pops with real bite and texture.
Storing Leftovers
Once fully frozen, wrap each pop individually in parchment paper and stash them in an airtight container so they do not absorb freezer odors over time. They keep beautifully for up to a month, though mine have never lasted that long.
- Lay them flat so the layers stay even and nothing shifts during storage.
- Label the container with the date because frozen fruit pops are easy to forget behind the ice cream.
- Always taste the fruit before adding sweetener because summer watermelon at peak season rarely needs any help.
 Save to Pinterest
 Keep a batch tucked in the freezer all summer long and you will never be caught off guard by an unexpected heat wave or a hungry crowd of kids. Sometimes the simplest recipes become the most requested ones.
Recipe FAQs
- → How long do these frozen treats take to set?
-
Plan for approximately 4 hours total freezing time. The watermelon layer needs about 1 hour to become firm enough to support the kiwi layer, then an additional 3 hours for the entire pop to freeze completely solid.
- → Can I use other fruits instead of watermelon and kiwi?
-
Absolutely. This layered technique works beautifully with any fruit purees. Try strawberry-mango, pineapple-coconut, or berry combinations. Just ensure each layer is completely smooth and properly frozen before adding the next.
- → Do I need to add sweetener?
-
The sweetener is optional since ripe watermelon and kiwi are naturally sweet. Taste your purees before freezing and add agave, honey, or maple syrup only if you prefer extra sweetness. Keep in mind honey isn't suitable for children under 1 year.
- → How should I store these and how long do they last?
-
Once fully frozen, remove the pops from molds and wrap individually in parchment paper or store in freezer bags. They will keep well in the freezer for up to 2 months, though they're best enjoyed within the first month for optimal texture and flavor.
- → What's the best way to remove the pops from the molds?
-
Run the molds under warm water for 15-30 seconds, being careful not to let water touch the pops themselves. Gently twist or pull the sticks—avoid forcing them. Silicone molds typically release more easily than plastic ones.
- → Can I make these without popsicle molds?
-
Yes. Small paper cups, silicone muffin liners, or even ice cube trays work as alternatives. Add sticks after freezing for about 1 hour when the mixture is firm enough to hold them upright. The freezing time may vary slightly depending on your container size.